Toddler Storytime: Art

We are back to our regular indoor storytimes for the fall season, with a few changes. I’ll spare casual readers all the details if you are only interested in the theme activities – feel free to skip the next paragraph! I am surprised that I’ve never done a general Art theme before. It’s definitely broad – art can be so many practices – but I did focus mostly on visual art. We talked about drawing, painting, and I even came up with an activity for sculpture. In my intro and the early literacy aside, I tried to emphasize to grownups that the process of making art is more important than the end product, especially for little ones.

If you are interested in the changes to storytime at my specific library: since April, when our longtime preschool programmer retired, we have been doing our Stories & Stations programs for ages 0-5 with one full time and one part time programmer. This fall, the two of us have once again split our programs into more specific age groups and are taking different ages. As the part timer, I’m doing three programs per week – a baby program for 0-12 months and two sessions of a toddler program for one- and two-year-olds. My full time colleague is doing four – two for 2s & 3s and two for 4s & 5s. We are both doing one extra per month (hers on a weekend and mine on an evening).We simplified the names of these programs, so it’s very apparent who each program is for. My baby program is called “Pre-Walker Storytime” and the toddler program is “1s & 2s” Storytime. Hers are “2s & 3s Storytime” and “4s & 5s Storytime.” Yes, it’s not cute or creative, but it is practical, and I think it works better for families than trying to figure out what “Teddy Bear Storytime” is (formerly 2-3.5 year olds.) We removed the 3.5 age barrier. A caregiver is required for all of these programs except for the 4s & 5s, which is intended to be kids attending independently (with a caregiver staying in the library) to practice school readiness. We are also planning our own separate themes rather than alternating planning weeks and sharing themes among all the under 5s.

I am noticing that moving from programming for a wider age range (up to 5 since April, and up to 3.5 before that) to an entirely younger audience may take a bit of tweaking on my part! It’s always a learning process and I find that once I get into a groove something changes and I need to readjust. I enjoy the challenge and appreciate the families that are so understanding while I figure it out.
Early Development Tip: Art engages children’s senses in open-ended play and develops cognitive, social, emotional and sensory skills. Art is a cooperative learning experience that provides pleasure, challenge, and a sense of mastery. Grownups, resist the urge to do crafts for your child, let them explore art materials however they like, and especially in these younger years focus on the process of art and not what the end product looks like. -adapted from Yogibrarian

Welcome Song: Hello, Friends* 
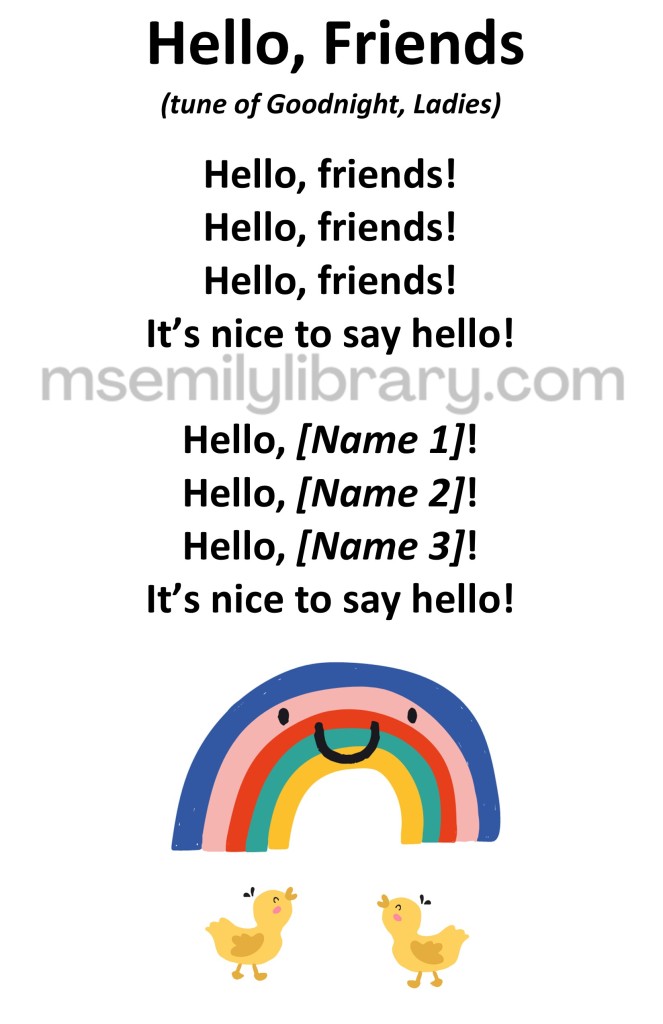
Hello Friends rhyme sheet. Includes a smiling rainbow and two yellow ducks at the bottom. click the image to download a non-branded PDF

Warm Up Song: Wake Up, Feet* 
This is a repeated song that everyone seems to enjoy. I always begin and end with feet and tummies, but find two other body parts to wiggle in the middle. I rotate between elbows, cheeks, hips, noses, arms, chins, thighs, heads, shoulders, ears, knees, and fingers.

Wake Up Feet thumbnail, with a graphic of three pairs of baby-sized shoes. click the image to download a non-branded PDF

Lifting Rhyme: Toast in the Toaster* 

Toast in the Toaster thumbnail, with a graphic of a toaster with a piece of bread hovering above it. click the image to download a non-branded PDF

Intro: Today we are talking about art! Art is something that everyone can do! Everyone has imagination and creativity inside you, and art is a way you can explore your thoughts, feelings, and ideas. Sometimes we get caught up in thinking that art needs to look a certain way, but I think that art is important no matter how it looks and the PROCESS of doing art is something that’s good for every person, especially little ones.

An artist needs their fingers to be loose and limber. Let’s warm up our fingers with one of nature’s artists: the spider, with her beautiful, intricate web. Grownups – fingerplays like these also help develop your child’s hand and finger strength and fine motor skills, which help them with writing later on.
Fingerplay: The Itsy Bitsy Spider
The itsy bitsy spider climbed up the water spout
Down came the rain and washed the spider out
Out came the sun and dried up all the rain
So the itsy bitsy spider climbed up the spout again
Source: traditional

the itsy bitsy spider thumbnail, with a graphic of a smiling spider next to a rain gutter attached to a red brick wall. click the image to download a non-branded PDF

Transition: If You’re Ready for a Story*

I like how simple this one is, and how it connects seeing art in a museum with making your own art, as well as feeling blocked! I’ve also used this title in our Storywalk in the past.
Read: Izzy Paints by Tim Miller

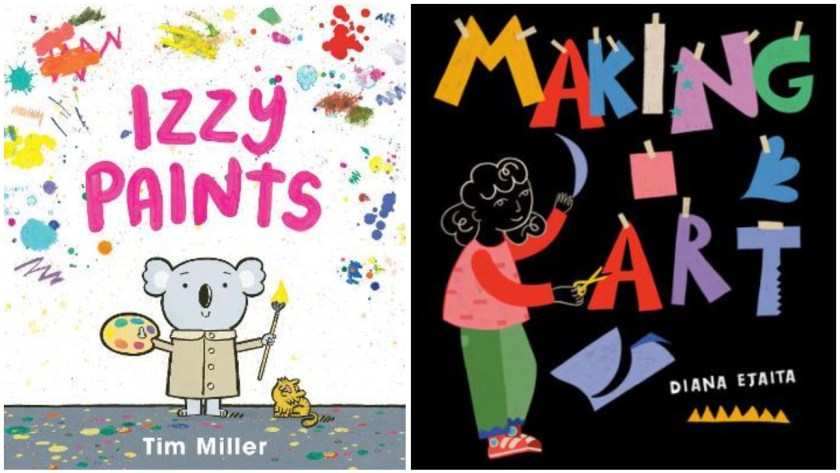
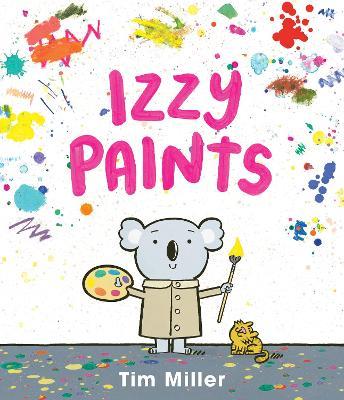
Izzy Paints book cover, showing a koala holding a paintbrush and palette, with colorful paint splatters all around.

This is such a beautiful book, and the text about how our art is informed by feelings and vice versa is an important reminder to people of all ages. I thought, though, that the artwork was a bit more metaphorical than my littlest ones could appreciate.
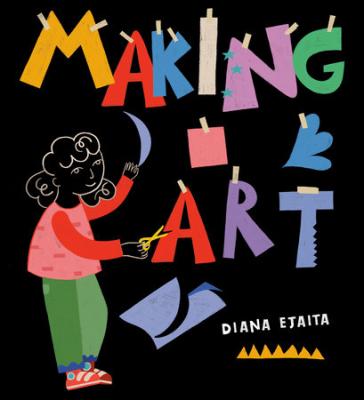
Backup Read: Making Art by Diana Ejaita

Making art book cover, where a child is holding up a cut out shape. The letters of the title seem to be made up of colored cut paper taped to the page. The background is black and the girl's head and hands are drawn with a light outline on the dark page.

Visual art is made up of colors and shapes!
This is a simple rhyme based in the Brown Bear, Brown Bear format. I used a set of shape flannels we purchased from Oriental Trading, and added a heart and a star from other flannel sets.
Flannel Rhyme: Colors & Shapes
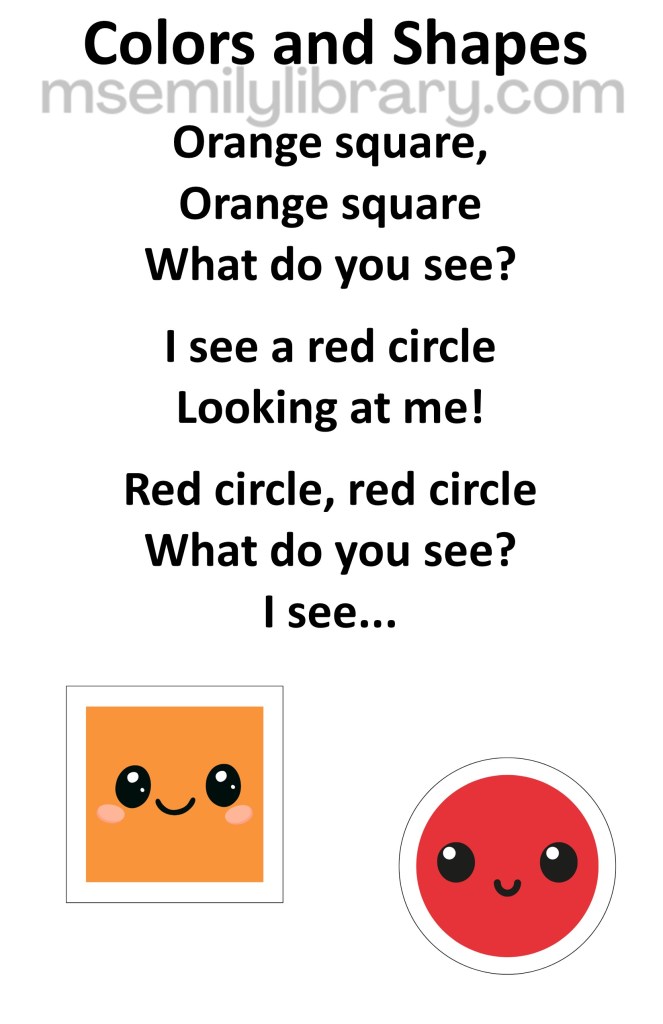
Orange square, orange square
What do you see?
I see a red circle looking at me!

Red circle, red circle
What do you see?
I see…
Source: adapted from Sunflower Storytime (no longer online)
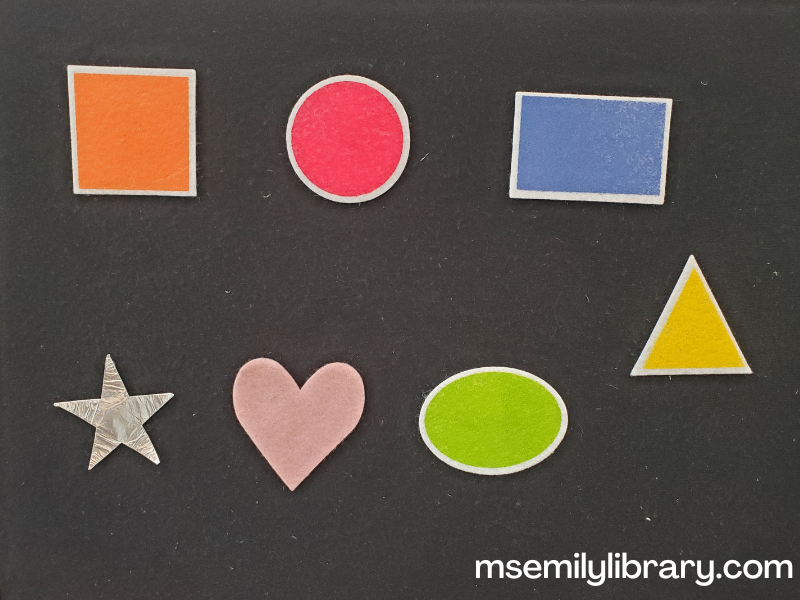
colors and shapes flannel, with an orange square, red circle, blue rectangle, yellow triangle, green oval, pink heart, and silver star

colors and shapes thumbnail, with a graphic of an orange square and red circle with smiley faces. click the image to download a non-branded PDF

Take a look at your clothes today. What colors did you wear?
This actually prompted a good amount of adult/child discussion, which is always great! I’d done this in the past to the tune of the Muffin Man, and I’ve also heard it done to the tune of If You’re Happy and You Know It, but that many verses for all the colors just goes too long for my group. This simple rhyme with one line per color is a good alternative.
Action Rhyme: If Your Clothes Have…
If your clothes have any RED, Put your finger on your head
… any BLUE, Put your finger on your shoe
… any GREEN, Wave your hand to be seen
… any YELLOW, Smile like a happy fellow
… any BROWN, Turn your smile into a frown
… any BLACK, Put your hands behind your back
… any WHITE, Stamp your feet with all your might
Source: The Wielded Pen
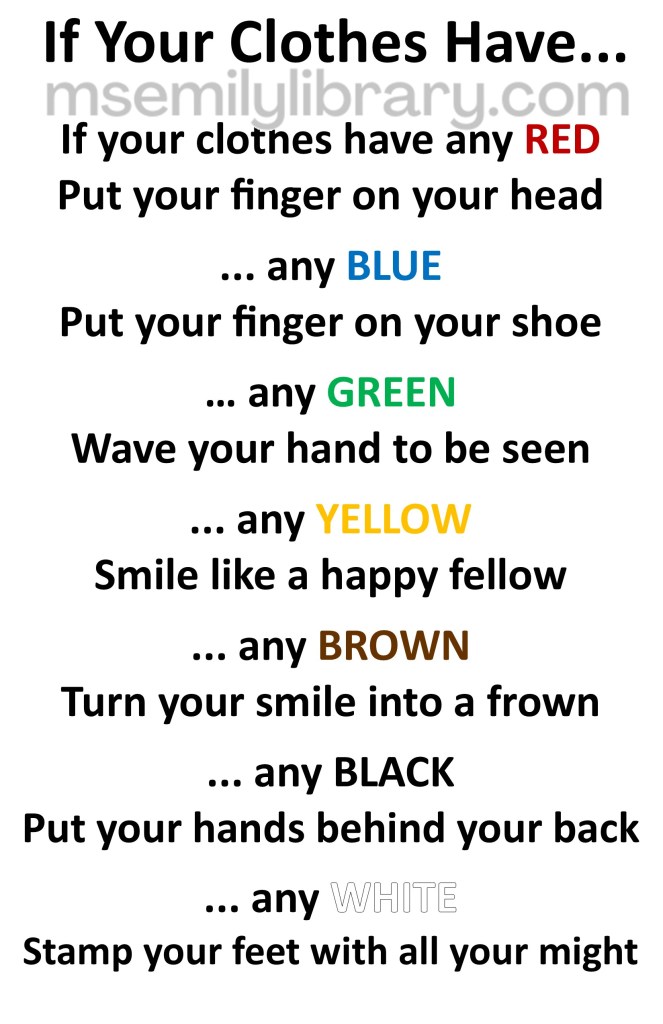
if your clothes have thumbnail, with lyrics only, though each color word is written in that color. click the image to download a non-branded PDF

An artist can use lots of things to make art. How about sculptors? Can we play the sculpture game?
I wanted to talk about at least one other kind of art rather than 2D visual arts, so I made up a little rhyme to do a sculpture game. I am no good at thinking things up on the fly, so I made myself a list of poses/emotions to choose from. I did a few for each group. At some point I reminded them that a sculpture doesn’t move, so even though I said “like you’re dancing,” you have to convey that while not actually dancing! I could see this being a really fun game with preschoolers, but it maybe didn’t quite land as I’d hoped with the littles.
Game Rhyme: Sculpture Game
I am the artist
You are the clay
Can you make your body
Look this way?
Call out emotions, actions, poses, or anything you can think of!
My examples: Excited – like you’re playing a sport – like you’re dancing – like you’re scared – like you saw something cute – as big as you can be – as small as you can be – like an explorer– like you’re tired – like you’re proud
Source: original
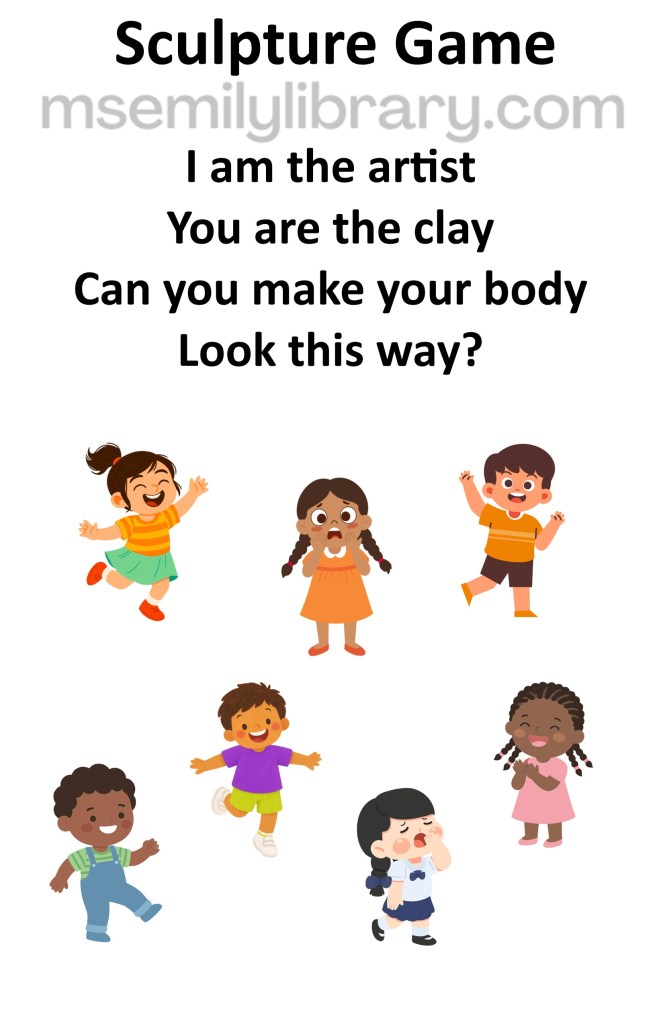
sculpture game thumbnail, with a graphic of seven kids in various poses. click the image to download a non-branded PDF

Let’s paint a picture! There are a lot of steps from start to finish.
Action Song: How to Paint
(tune of Here We Go Round the Mulberry Bush)
This is the way we stir the paint,
Stir the paint, stir the paint
This is the way we stir the paint
So early in the morning

Additional verses:
…dip our brush
…paint the paper
…blow it dry
…frame the painting
Source: Librionyian
how to paint thumbnail, with a graphic of paint brushes and paint splatters. click the image to download a non-branded PDF

Time to get out our scarves! Can you pretend your scarf is a paintbrush?
We started by practicing some painting with our scarves.
Scarf Play: Painting Practice
Paint:
Long straight lines on your leg
Circles on your knees
Dots on your tummy
Curls on your head
Zigzags in the air in front of you
A rainbow
Lines on floor
Your 1st initial
The moon
A tumbleweed (big wild scribble!)
Source: Librionyian

Scarf Song: Paint with Me
(tune of Twinkle, Twinkle)
Grab your brush and paint with me
Paint a flower, paint a tree
Paint it fast and paint it slow
Paint up high, then paint down low
Paint zig-zags, circles too
How I love to paint with you!
Source: Loudest Librarian
paint with me thumbnail, with a graphic of a sun, flower, tree, painted circle and zigzag line. click the image to download a non-branded PDF

Let’s dance our rainbow scarves. Can you listen for your colors?
Okay, so most of my kiddos are too little to both know what colors they have and wait to do a motion during their color. But it’s fun anyway. Note that the rhyme sheet is two pages long, though the preview below shows just the first page. Click the thumbnail to download the full PDF.
Scarf Rhyme: Rainbow Dancers
Rainbow dancers: Let’s get ready
Hold your scarves nice and steady
Hear the colors of the rainbow Listen for your time to go
Shake red… Shake orange… Shake yellow… Shake green… Shake blue… Shake purple!
Red scarves: turn around
Orange scarves: up and down
Yellow scarves: reach up high
Green scarves: fly, fly, fly
Blue scarves: tickle your nose
Purple: touch your toes
Everybody dance around,
Swirl your scarves Up and down
Now: Shake purple… Shake blue… Shake green… Shake yellow… Shake orange… Shake red!
Rainbow dancers dance around
Scarves swirl up and Scarves swirl down
Our colorful dance is at an end
Thank you, thank you, All my friends!
Source: Jbrary
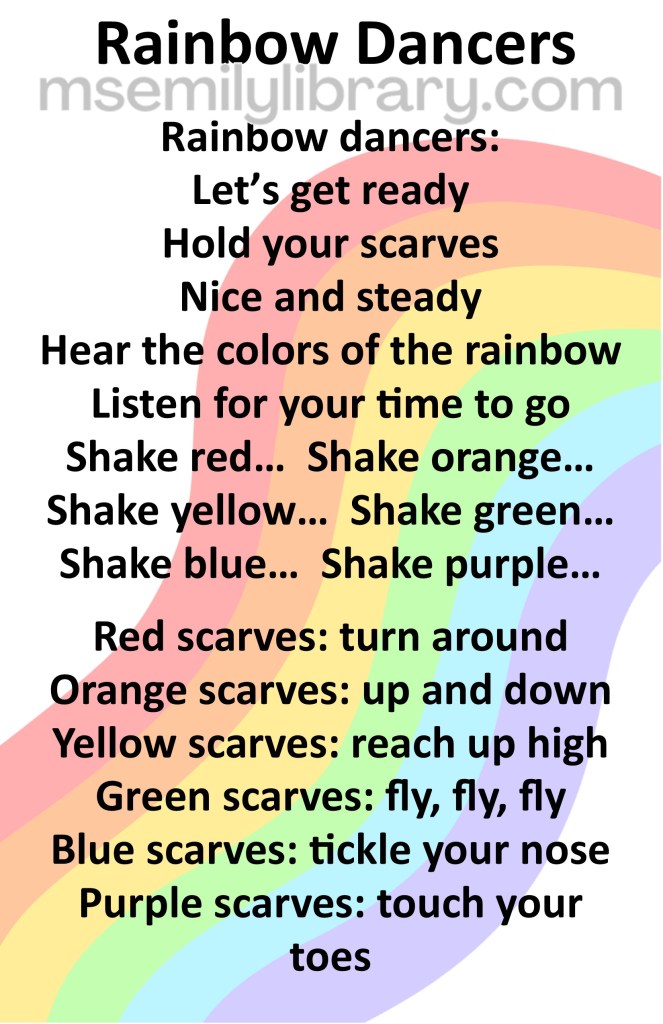
rainbow dancers thumbnail, with a graphic of a large wavy rainbow behind the text. Rhyme sheet is 2 pages but thumbnail only shows one. click the image to download a non-branded PDF with both pages

Action Song: Zoom, Zoom, Zoom!*

zoom zoom zoom thumbnail, with a graphic of a rocket ship. click the image to download a non-branded PDF

Craft: Watercolor or Dot Painting Art
We didn’t have any specific craft to do, I just put out some watercolor palettes and our dot markers with white construction paper and let the kids do whatever they wanted! I didn’t catch any pictures of finished products, but the kids spent a longer time span at the craft tables this week than they usually do.

Play Time
The toddlers have two laundry baskets of baby toys – rattles and cars, sorters and stackers, toy phones and spinners. For the older kids, I have foam blocks, soft food toys, puzzles, and a few other items that are a little more sophisticated than the baby toys. For Family Time, I gauge the overall age of the group and put out what seems right for them. We play for 5-10 minutes at the most, then I ring the bell and ask the kids to help me clean up. I think the clean up bit is good practice for them!

Goodbye Song: See You Later Alligator*

See you later thumbnail, with a graphic of a green alligator, brown crocodile, ladybug, and jellyfish. click the image to download a non-branded PDF

Other books I had available for families to browse (and may work for you on this theme)
Time to Make Art – Jeff Mack
Oh, Olive! –
Lian Cho
Blue Chicken –
Deborah Freedman
The Dot –
Peter H. Reynolds
Squeaking of Art –
Monica Wellington
Growing an Artist –
John Parra
Meet Me at the Art Museum –
David Goldin
Off-Limits –
Helen Yoon
The Artivist –
Nikkolas Smith
Rima and the Painter –
Leila Boukarim & Melissa Iwai
The Book of Mistakes –
Corinna Luyken
If You Find a Leaf –
Aimée Sicuro
Anonymouse –
Vikki VanSickle & Anna Pirolli

This storytime was presented in-person on 8/11 & 8/12/26.

Storytime Handout:
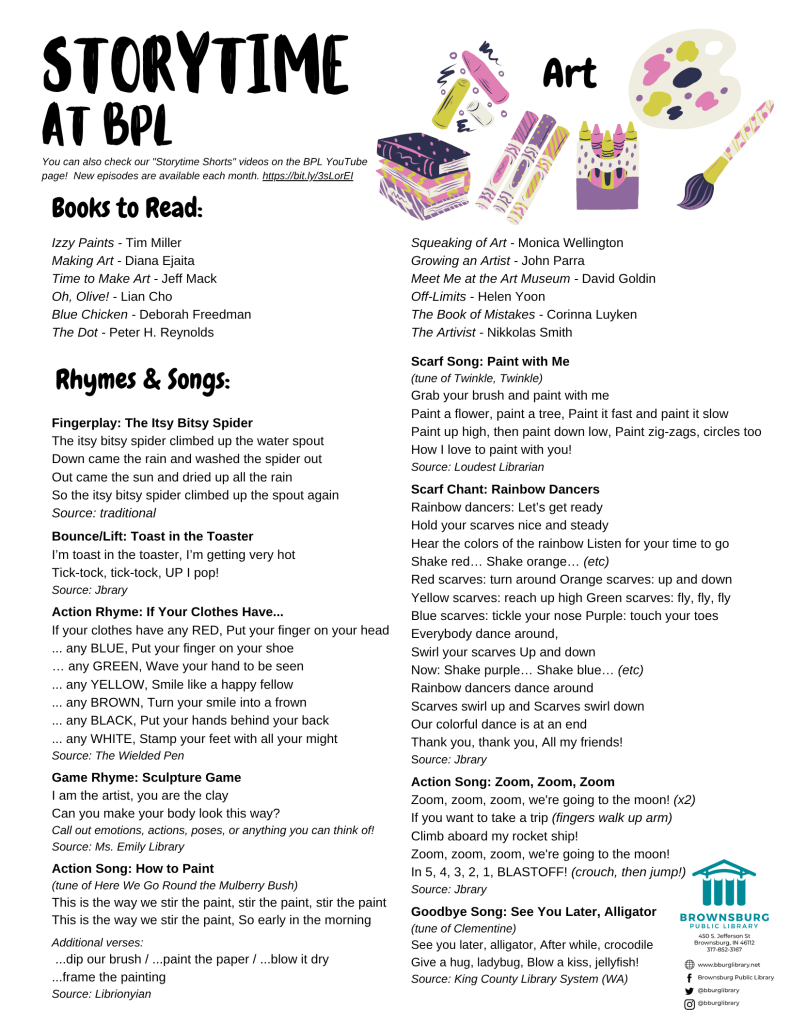
handout with book suggestions, rhyme and song lyrics.

*Lyrics to these songs can be found on the Repeated Songs & Rhymes page.

† Click the image of rhyme/song sheets to download a non-branded PDF

Summer Storytimes: All Together Now, Part II

Summer is a great time to break out of the storytime structure I find myself in during the rest of the year. There’s nothing wrong with having structure, of course, but I find it invigorating to mix it up and feel free to try new things and be experimental during a set time of year.

In the summer, I offer outdoor programs for kids ages 0-3.5 and their caregivers. We spend about 15-20 minutes doing songs, rhymes, books, and extension activities, and then take about 20 minutes at free-play sensory stations that engage kids and caregivers to talk, socialize and practice social skills, engage in science and age-appropriate STEM inquiries, flex creative muscles, and have lots of fun, associating the library with positive feelings. This post will detail these stations.

You can read more about the Storytime half of the summer sessions here, Summer Storytimes: All Together Now, Part I.

Each week I had eight stations that families could wander through. There was no requirement that they had to go to each station or change stations at any certain time, or at all. They chose their path and self-regulated. Some stations were available every single week, some rotated, and some were unique and only appeared during one week. They fell into “wet,” “dry,” and “art” categories. I used old sheets to cover the stations so they wouldn’t be too tempting during the storytime portion of the program, and that worked well.

I also had a backup plan for when the weather or air quality was too poor to be outside. This was the summer of the Canadian wildfires, so there were several days that were not rainy, but smoke and particulates in the air made it unsafe to be outside – especially for the very young and for senior citizens (and many of my caregivers are grandparents in that category!) If we weren’t outside, I had reserved our two largest and adjoining meeting rooms, where I was able to set up both an area for stories and songs and the parachute on one side and stations on the other, so thankfully we didn’t miss out on any activities. If I remembered to take pictures indoors and out, I included both below to give a sense of layout.

The Plan: Stations

Wet Stations

This is a big draw – everyone likes playing in water! Outdoors, I used a hose and outdoor water supply to easily fill my tubs with water and could just pour it all out at the end of the session. Indoors, I hauled buckets from our janitor’s closet and possibly filled everything just a little bit less than I would outside. I used old flannel sheets underneath to absorb spills and make them easier to clean up. The meeting room has an emergency exit door that opens to some landscaping so all the water got dumped there at the end.

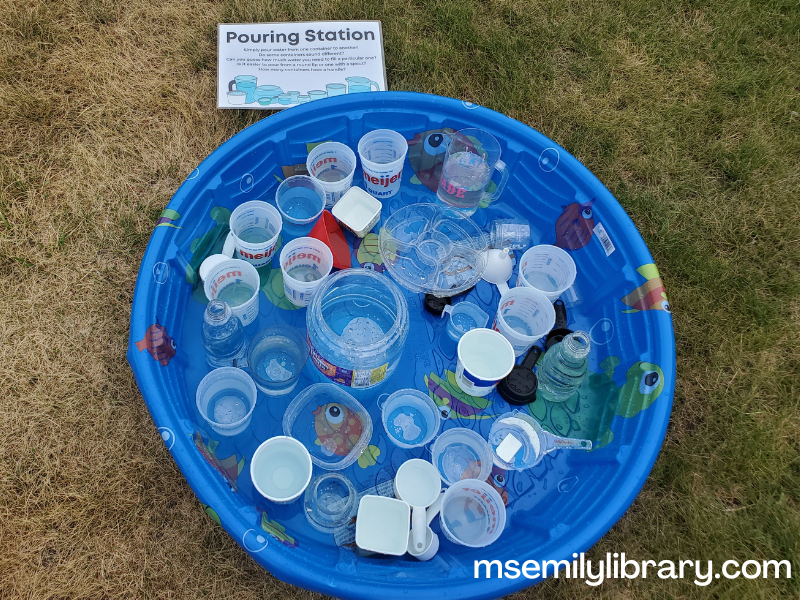
Pouring Station (all weeks)
This is a repeat from last year, so I had all of the materials for this one already. It’s also an easy one to set up, so it’s my anchor wet station: we had it out every week. Last year I asked coworkers to collect clean plastic recyclables with wide openings for this station and visited Goodwill for some additional pitchers. We had measuring cups and funnels in our materials, as well as a baby pool, which is the perfect container. I fill the pool with the plastic bins and fill them randomly with water. Original idea from Busy Toddler.

Pool Noodle Soup (Weeks 1 & 4)
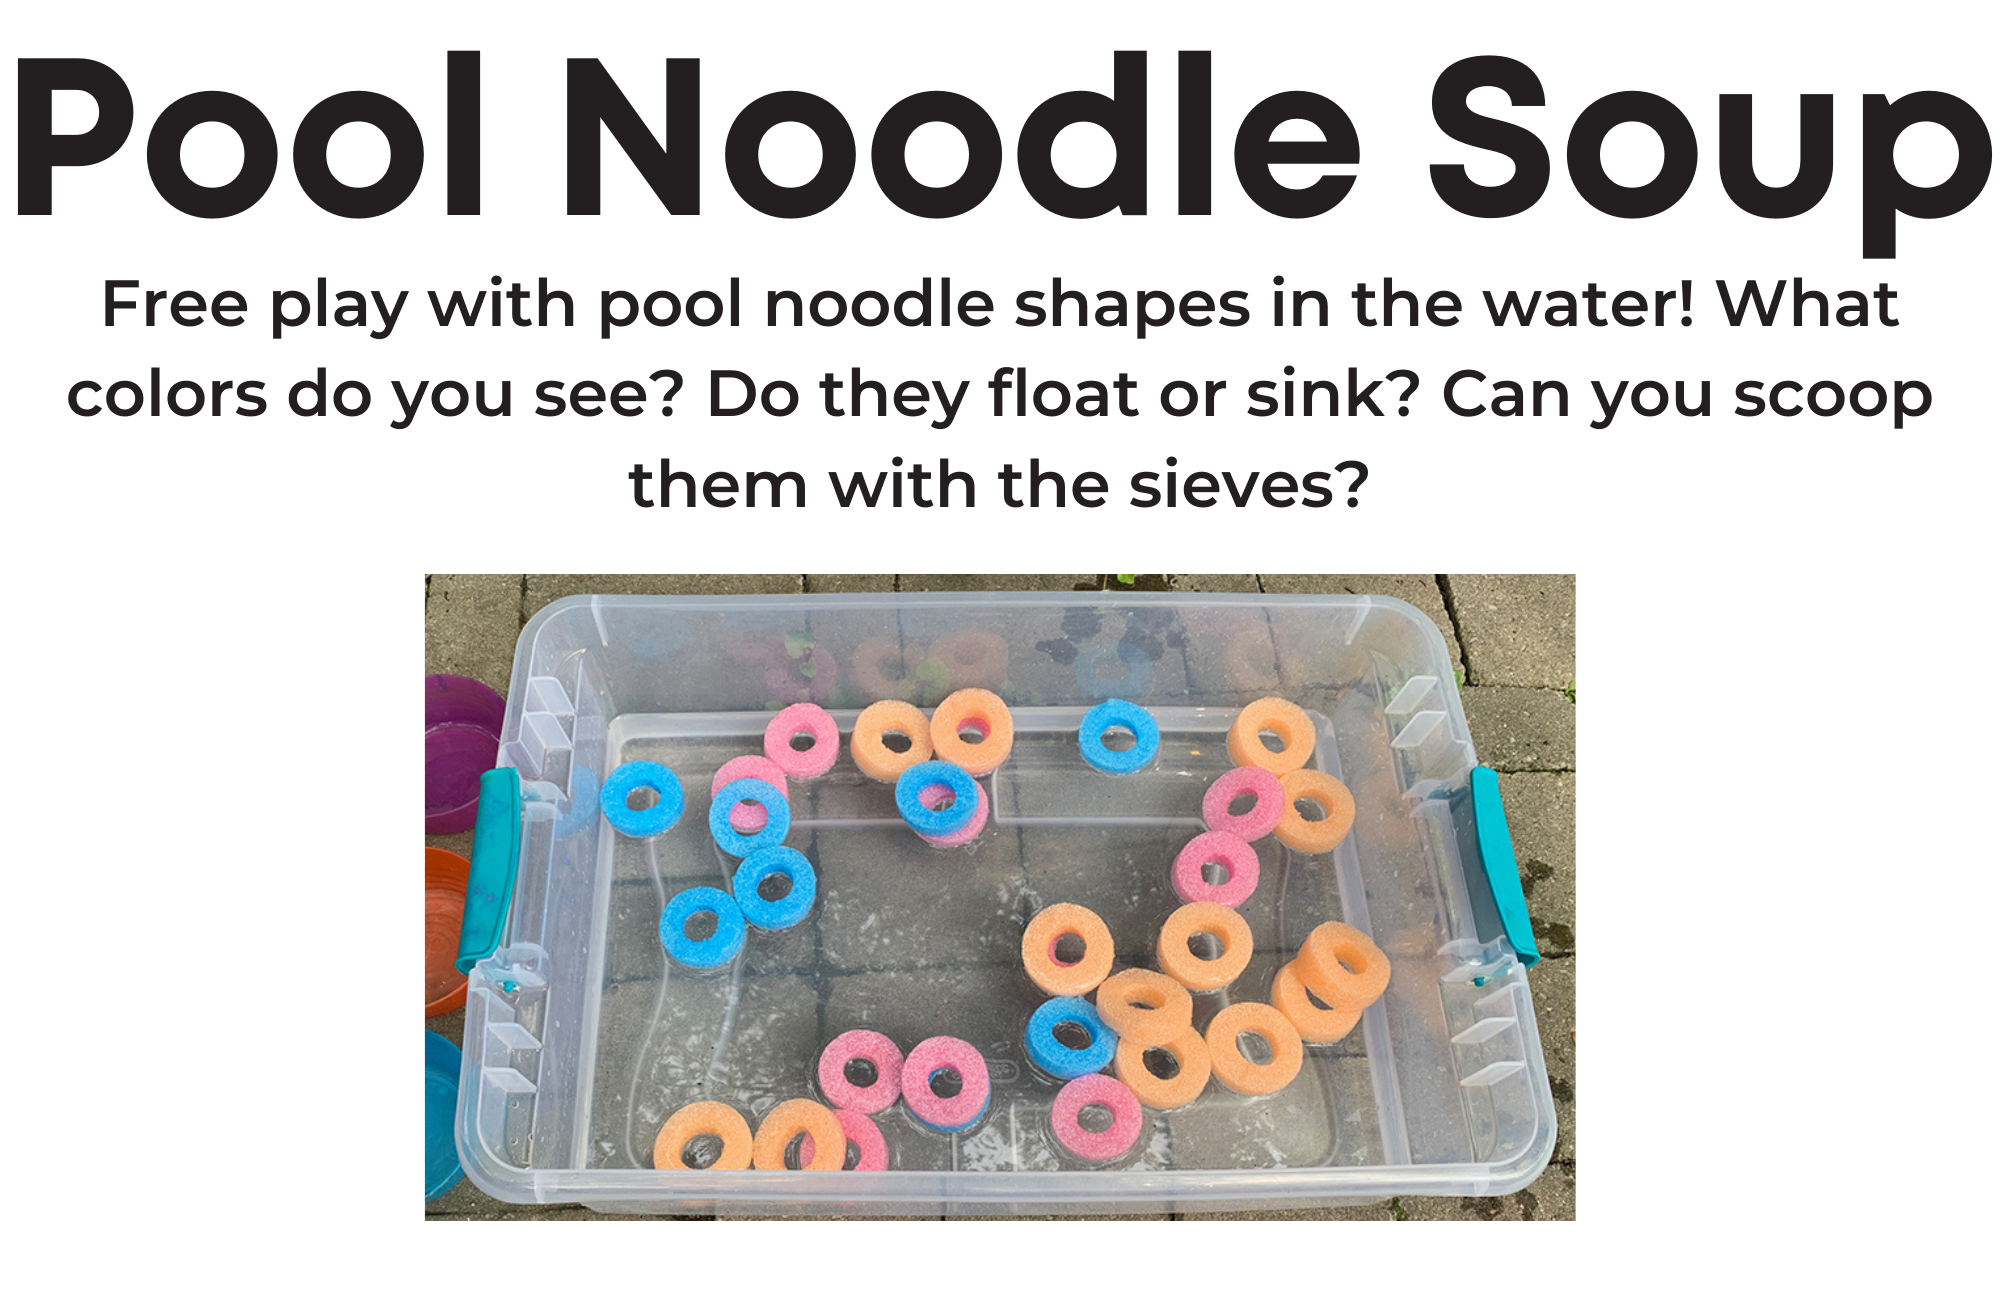
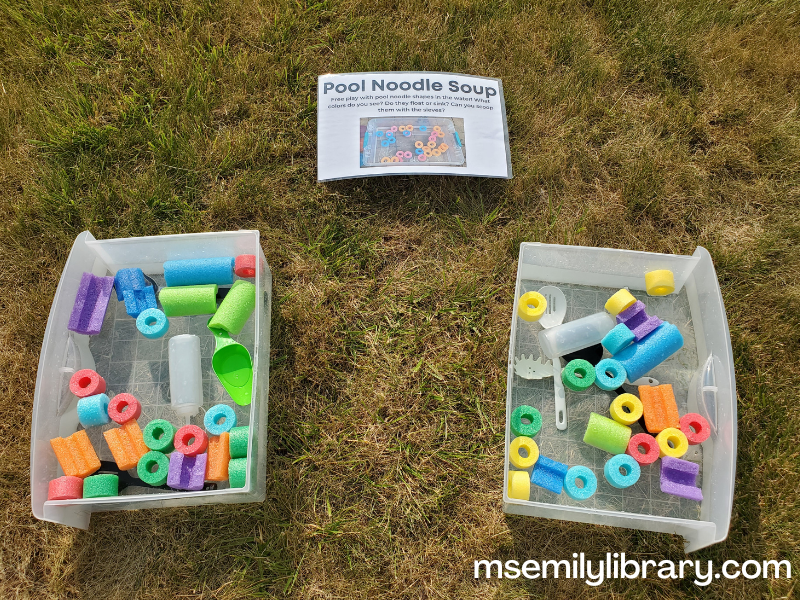
I cut sections of pool noodles and used them in three different ways, starting with this wet station. (You’ll see them below as a dry station and an art supply, too.) I used two drawers from a plastic storage bin as my containers, and added water, the noodles, some ladles and slotted spoons, and some squeeze bottles. Original idea (and photo on the sign) from Happy Toddler Playtime.

Fly Swatter Slap (Weeks 1 & 7)
Again, I maximized my materials by using flyswatters in both wet and dry stations on different weeks. The wet station included the (new, clean) swatters and ping pong balls that I drew flies on. I found the plastic containers at Goodwill and they are a little bit smaller than the drawers used above. The swatters were hand-shaped and different colors. Original idea (and photo on the sign) from My Bored Toddler.

Sponge Play (Weeks 2 & 7)
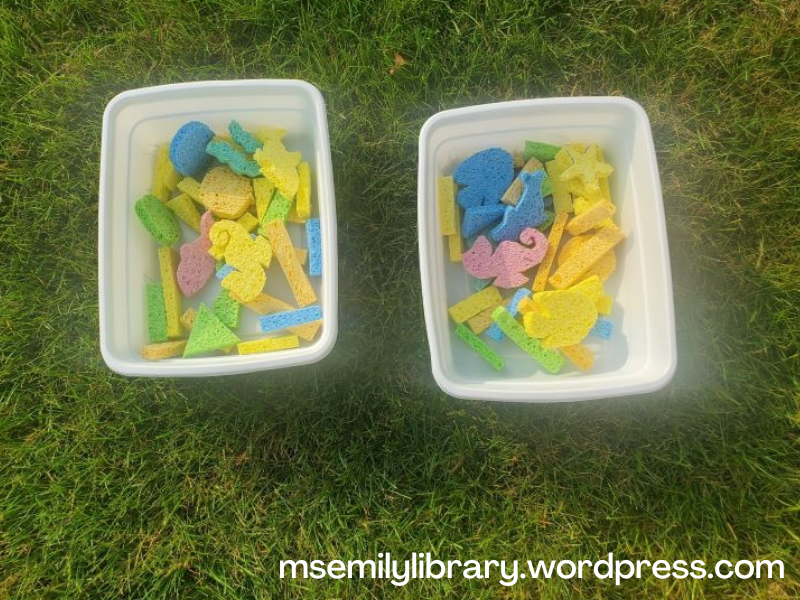
This was another repeat from last year, but one that’s especially great for the youngest of my age group. When it was out it was usually surrounded by the “baby brigade!” The shapes were ocean animals since last year’s theme was “Oceans of Possibility” but they were just as happy with the simple shapes. Original idea (and photo on the sign) from Little Lifelong Learners.

Scooping Blocks (Weeks 2 & 5)
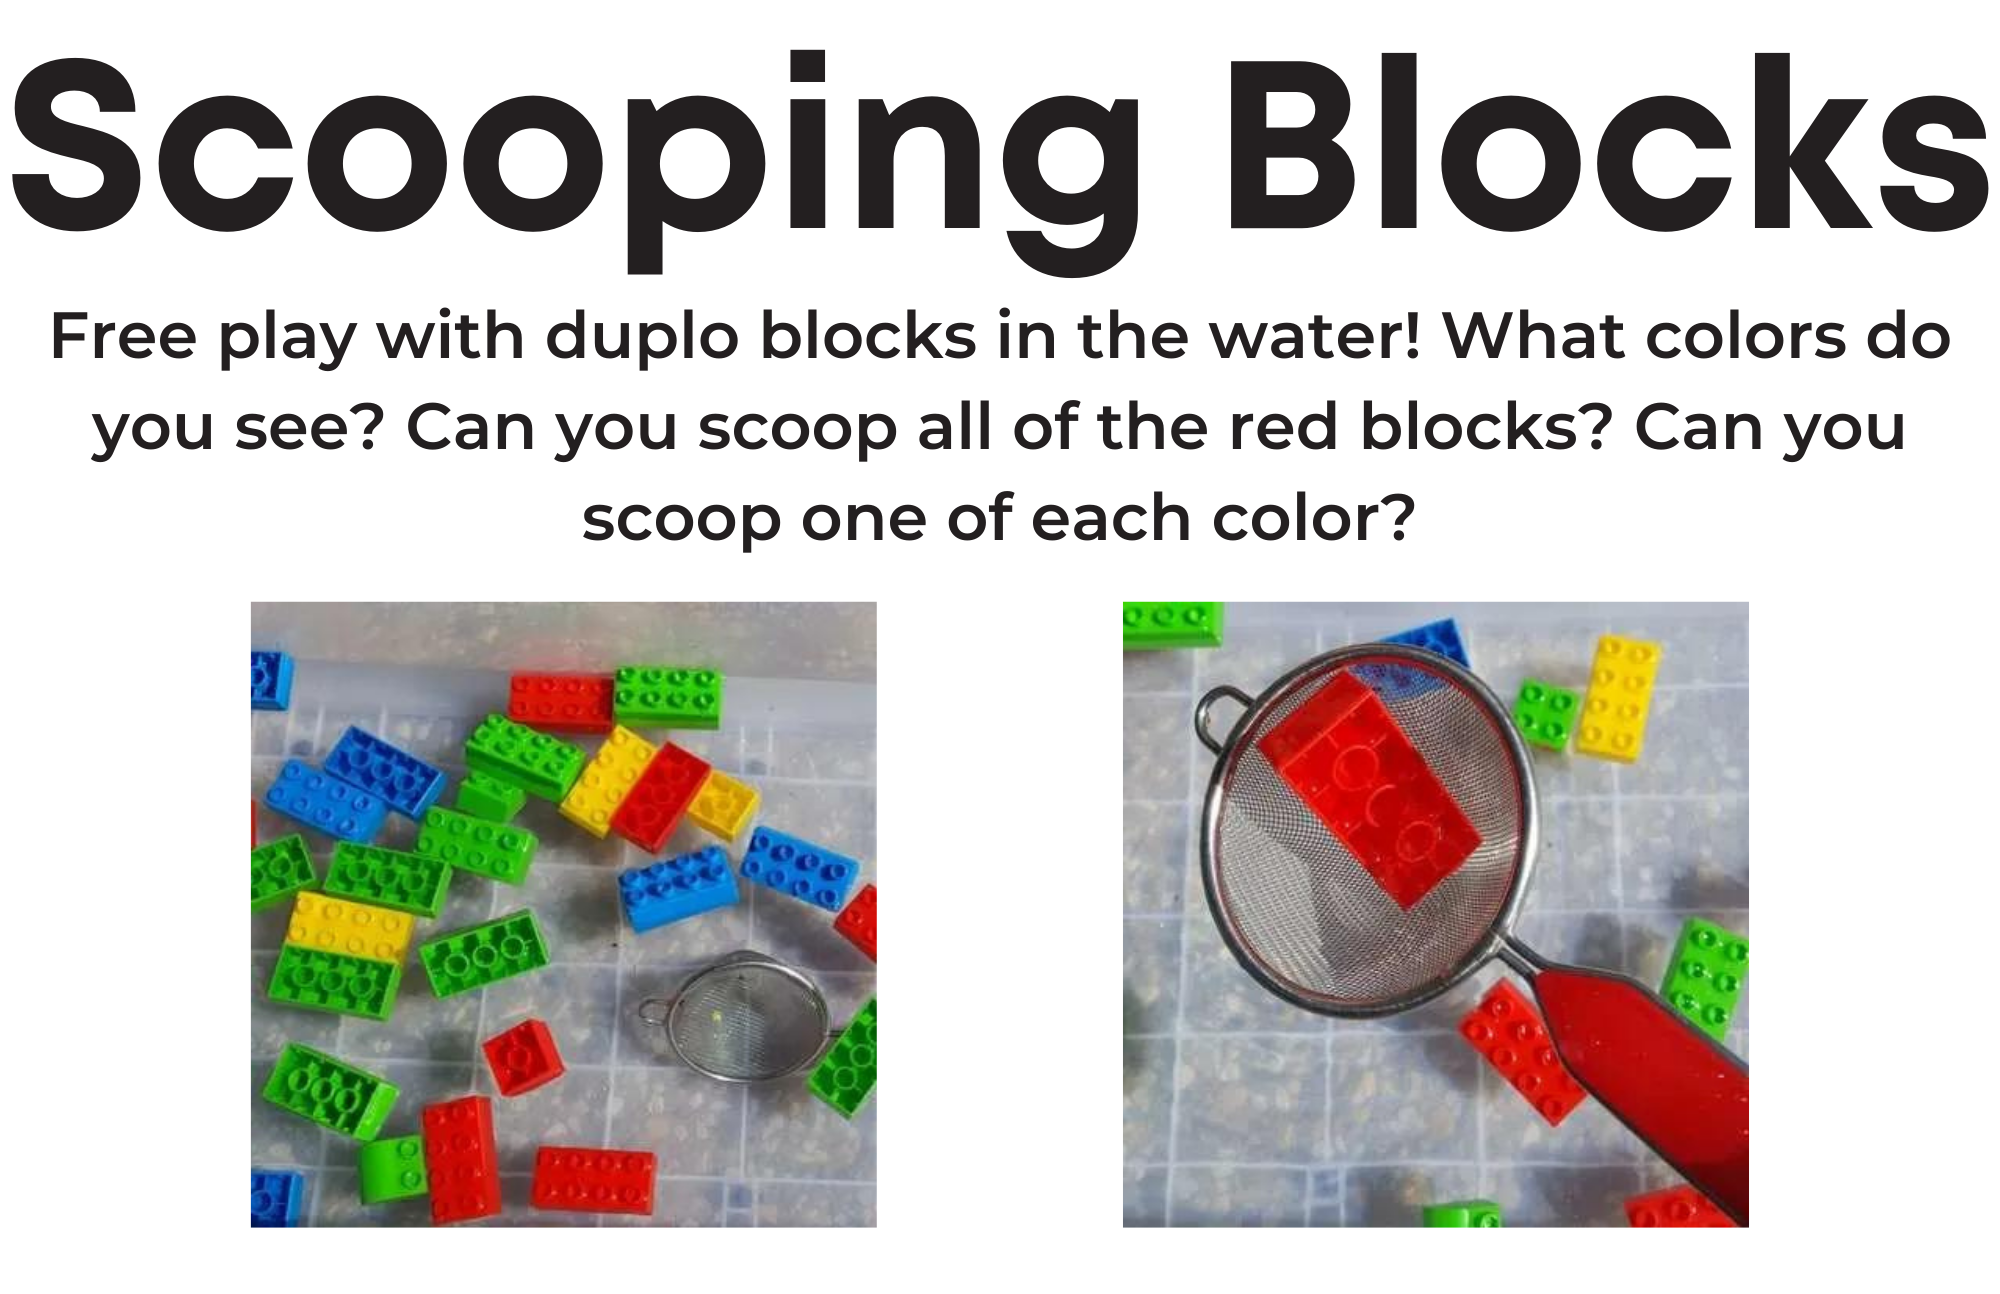
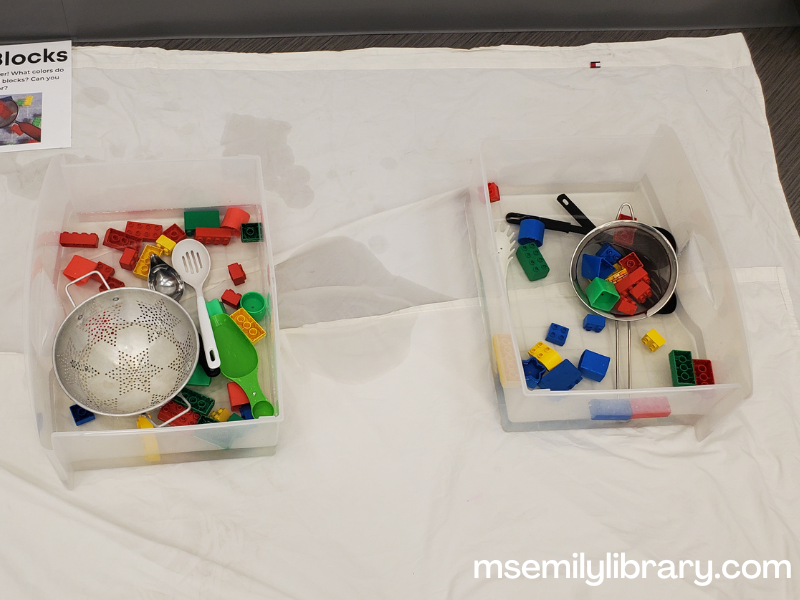
Lego Duplos plus water and scoopers! This one was fun for its obvious purpose, but added bonus: some kids actually took the Duplos out of the water and put them together! We had all the Duplos already, and I added some of the sorting blocks from our baby toys to the mix, as well as ladles, colanders, and sieves from Goodwill. Original idea (and photo on the sign) from My Bored Toddler.

Mystery Water (Week 3)
Another repeat from last year – I originally saw this as on Pinterest as a reel, and was intrigued. Cornstarch and a little food coloring are added to water to turn it murky, and kids can search for items in the water to match up with a finding guide. We had a bunch of colorful plastic cookie cutters in storage that were perfect for this, so I traced them on a separate sheet for the kids to match up. They weren’t as solid and heavy as the original poster’s, so they tended to float a little, unfortunately, but it didn’t really matter. Original idea (and photo on the sign) from bright_little_brains.

Lemon Sensory Bin (Week 3)
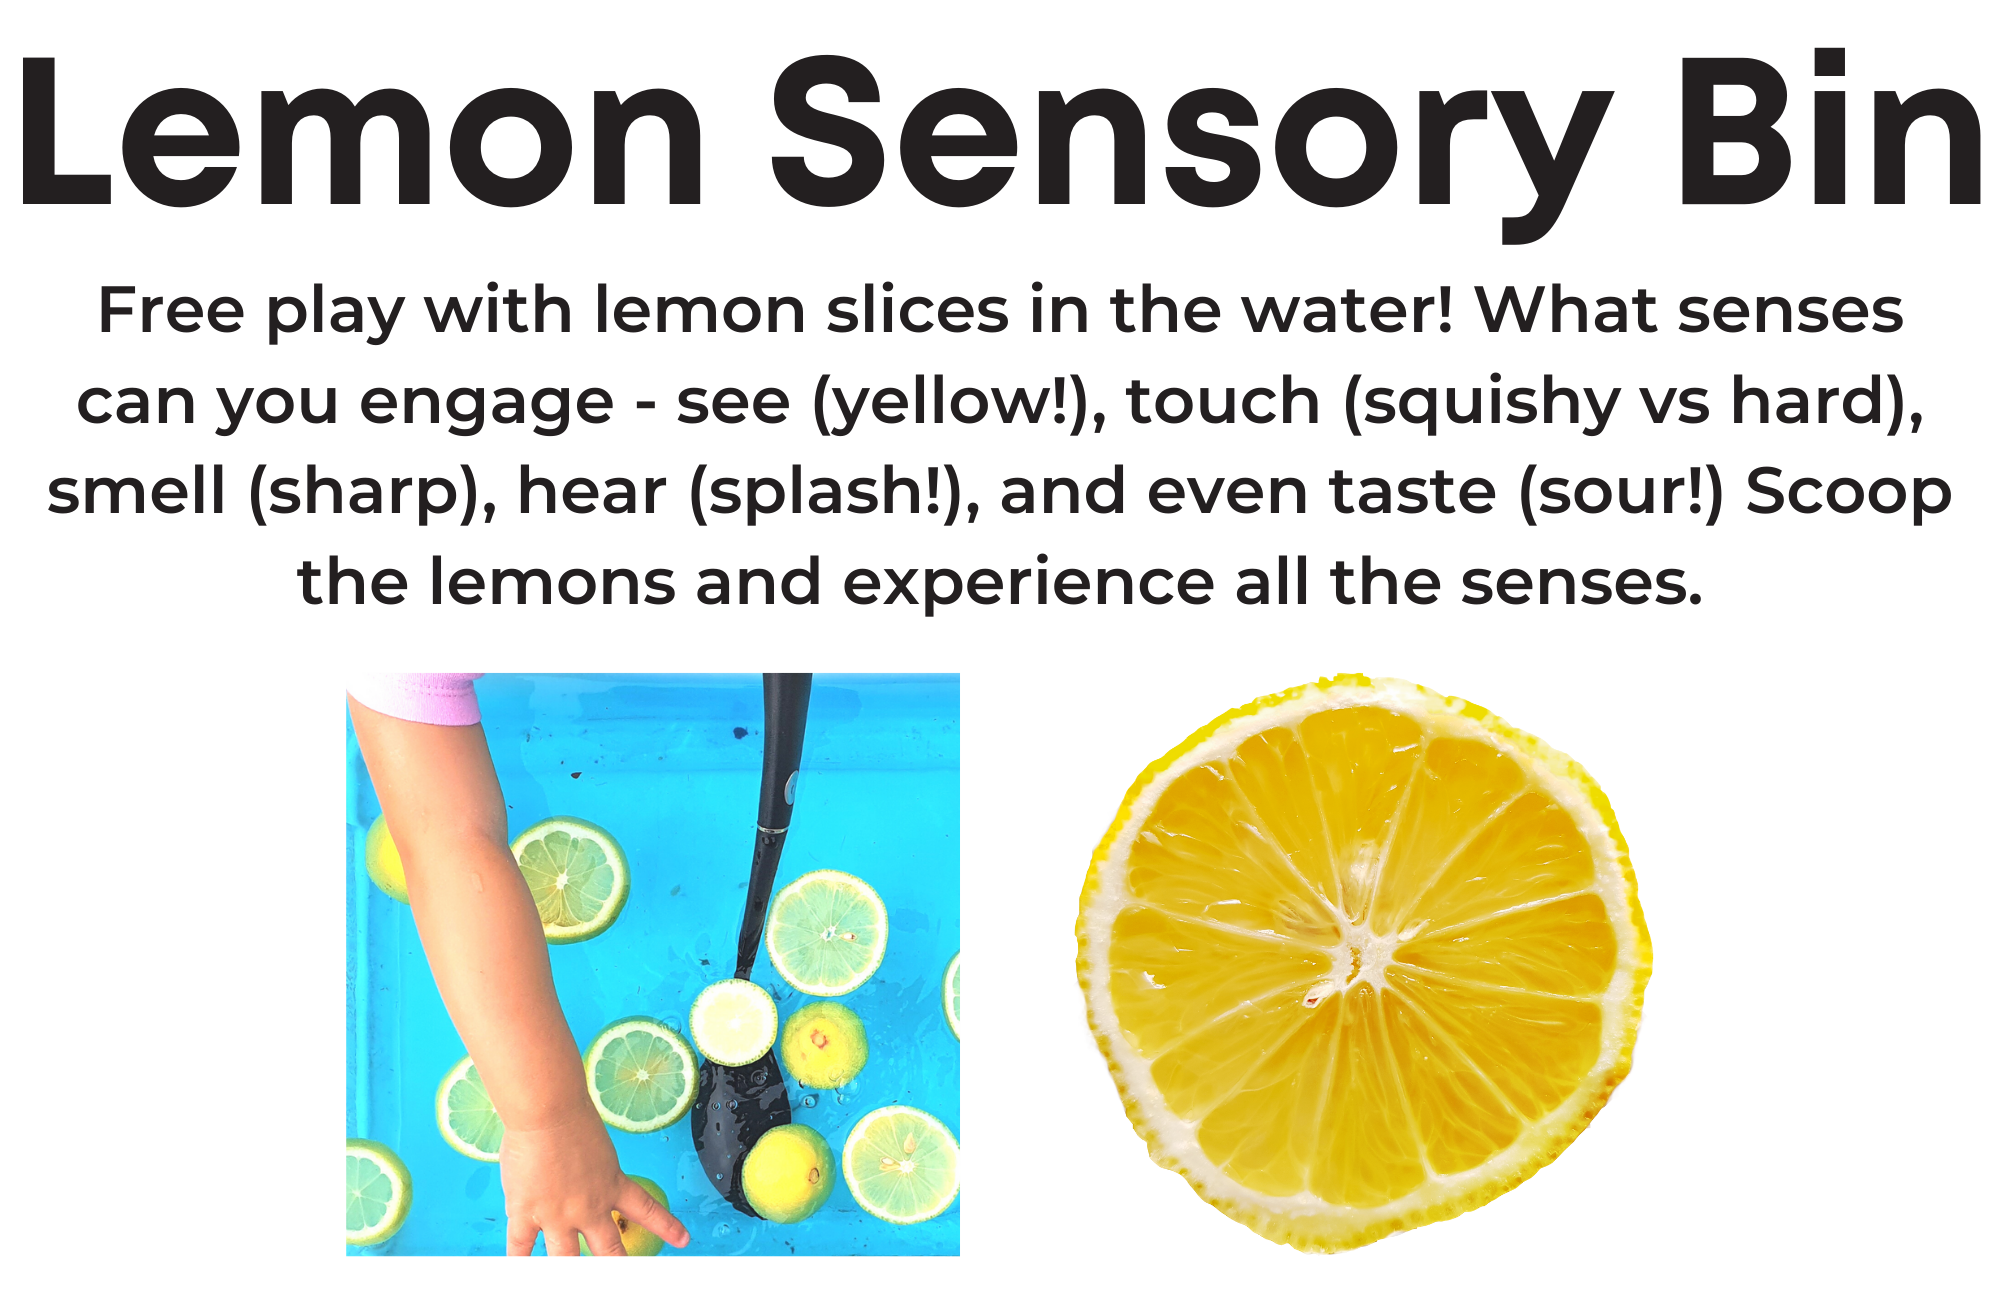
Mm, this was one of my favorite stations! It was super easy and smelled so good. I bought a bag of lemons and divided them among my three sessions. That was maybe 2-3 lemons per day? Cut them up into slices and added them to a bin of water along with ladles. I did announce that there was a lemon bin before breaking for stations just in case there was an allergy issue, but no one had a problem. Original idea (and photo on the sign) from Taming Little Monsters.

Whisking Bubbles (Week 4)
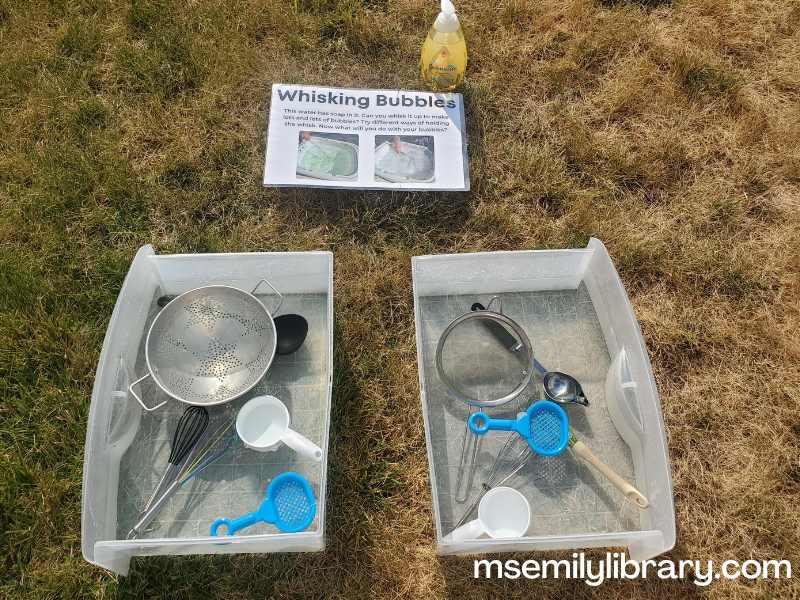
Kids could whisk up some bubbles and then use colanders and sieves to play with the result at this station. At first I just thought I would get some dishwashing soap, but then I started thinking about soap in eyes and mouths. I ended up buying some body soap formulated for babies (tear-free) and that worked perfectly. I looked for actual baby bubble bath, but couldn’t find it in store, so was a little worried about how sudsy it would get, but it ended up being just fine. And I’m so glad I went that route – I remember one of the babies did a nose-dive into the bin at one point and, indeed, there were no tears! I added the soap at the beginning and left the water undisturbed so that the kids could create all the bubbles themselves. Original idea (and photo on the sign) from The Empowered Educator.

Flower Sensory Bin (Week 5)
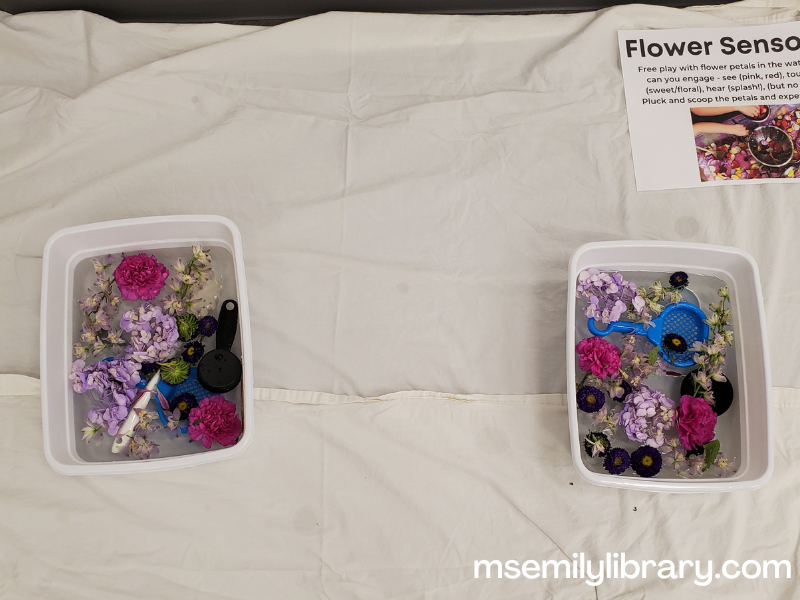
I called our local Kroger florist and asked if they would donate flowers that were past their prime, so I was able to put this bin together without the cost of the flowers! It was also interesting to see the variety that was available on the two days I picked them up. One day I got a bouquet with several kinds of flowers that filled my two little bins, and the other day all that was available were colored daisies. Both were appreciated, and grown-ups commented on the pleasant scent and the novelty of the experience. I also got an action shot (with permission from the participants) on this one, since I wanted to include it in my thank you note to the florist. Original idea (and photo on the sign) from Learning and Exploring Through Play.

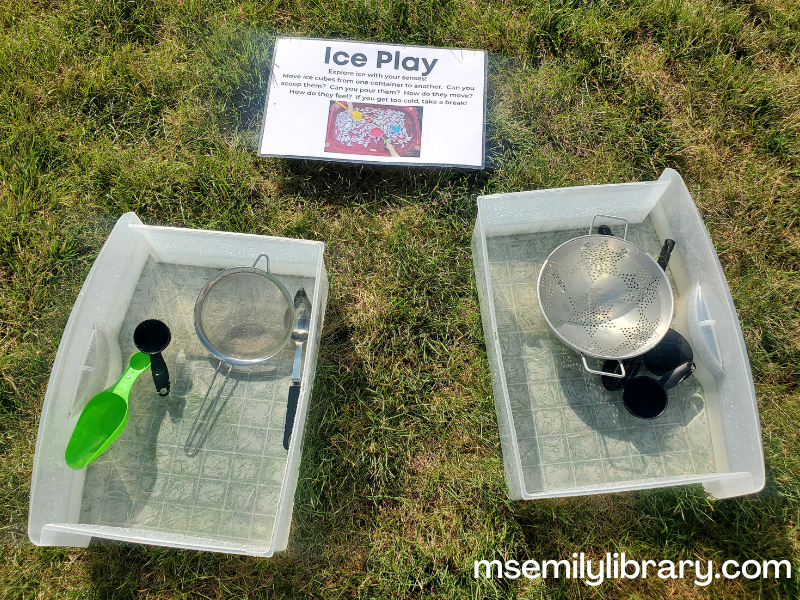
Ice Play (Week 6)
Another repeat from last year. I bought a large bag of ice each morning before my program and kept it in a cooler, adding it to the bins JUST before they were played in (so there’s no ice shown in the photos I took before the program). Ladles, colanders, and sieves were added for handling the ice. It was good weather for it – HOT – so the ice was mostly melted by the end of the station play time, but it was just enough. I reminded everyone to take a break if their fingers started to get too cold. Original idea (and photo on the sign) from Busy Toddler.

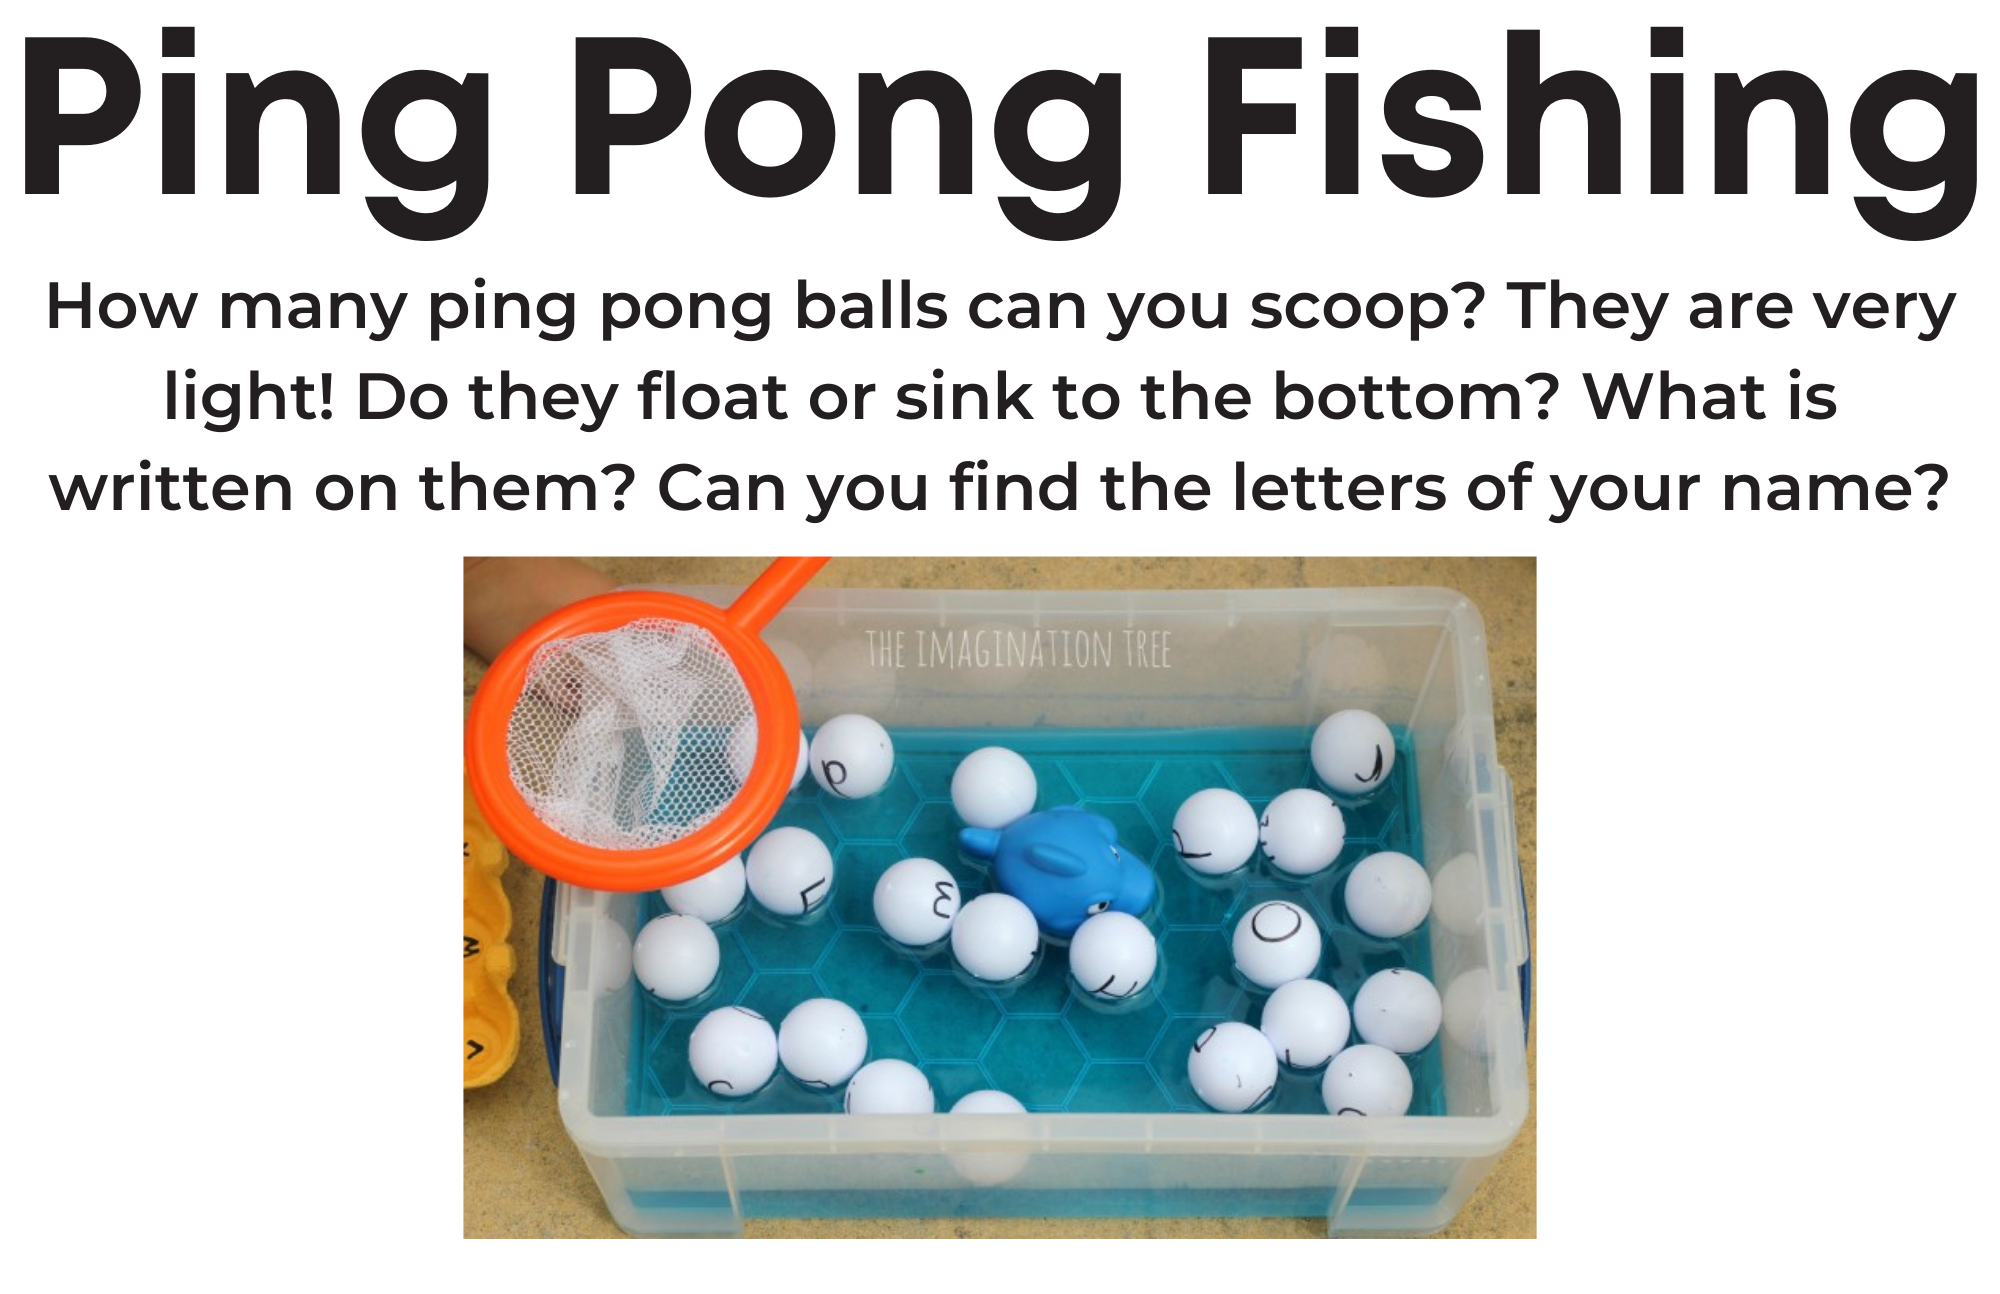
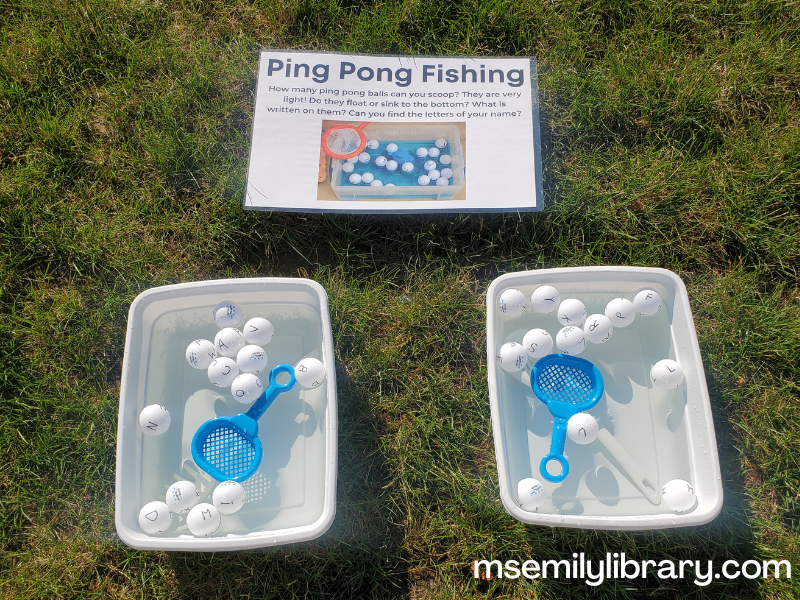
Ping Pong Fishing (Week 6)
I put the alphabet on ping pong balls and added them with scoopers into the bin. Adding the letters to all four sides of 26 balls took the most time! I think I added the housefly balls from the fly swatter slap station the second and third day, but they aren’t pictured. Original idea (and photo on the sign) from the Imagination Tree.

Dry Stations

There were a few families that didn’t want to get wet, so I was sure to offer three dry stations each week as well. Many of these gave practice in sorting various items by color, shape, or texture.

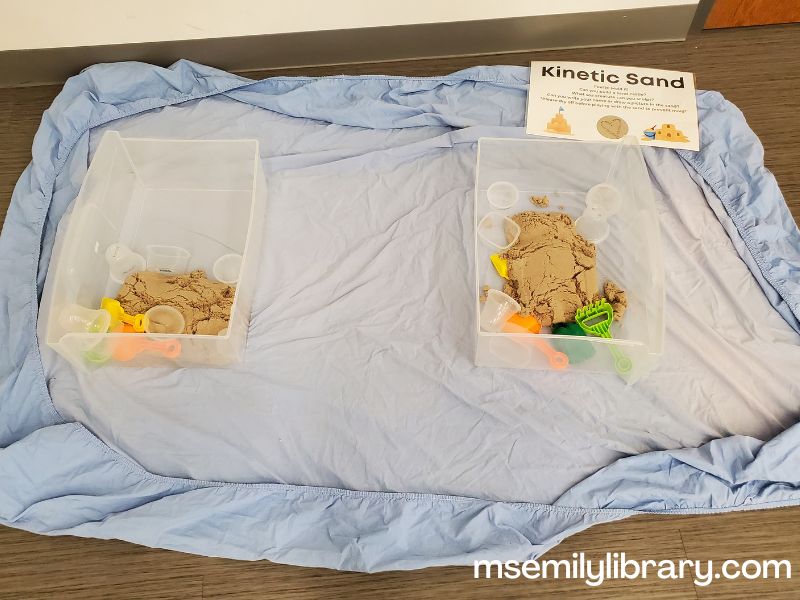
Kinetic Sand (all weeks)
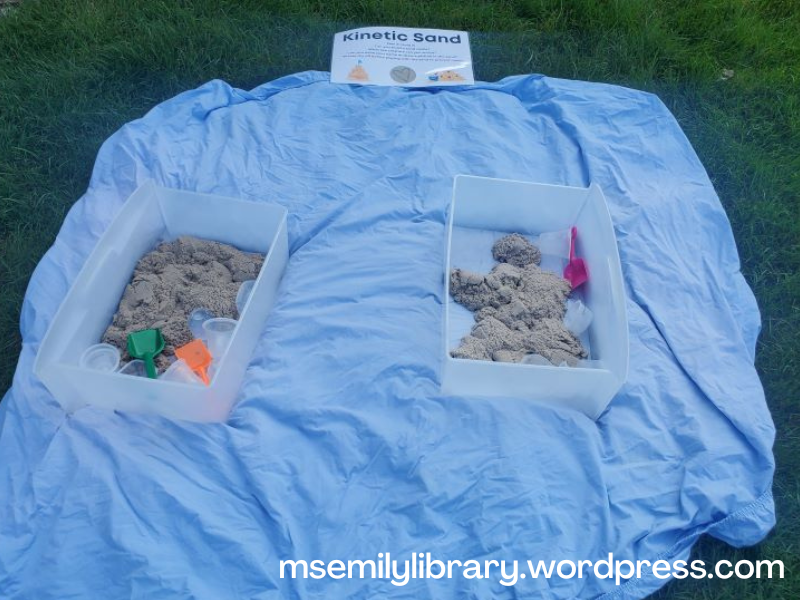
Along with the Pouring Station above, this was the only station that was available all summer long. I had the supplies from last year, which included the kinetic sand itself as well as recycled fruit cup containers that had fun shapes and plastic shovels. I kept a sheet underneath this station to catch any stray sand that escapes the bins. Because the sand is not taste-safe, I do warn the caregivers that if their kiddo is still exploring with their mouth, they may want to skip this station.

Beanbag Sort (Weeks 1, 4, & 7)
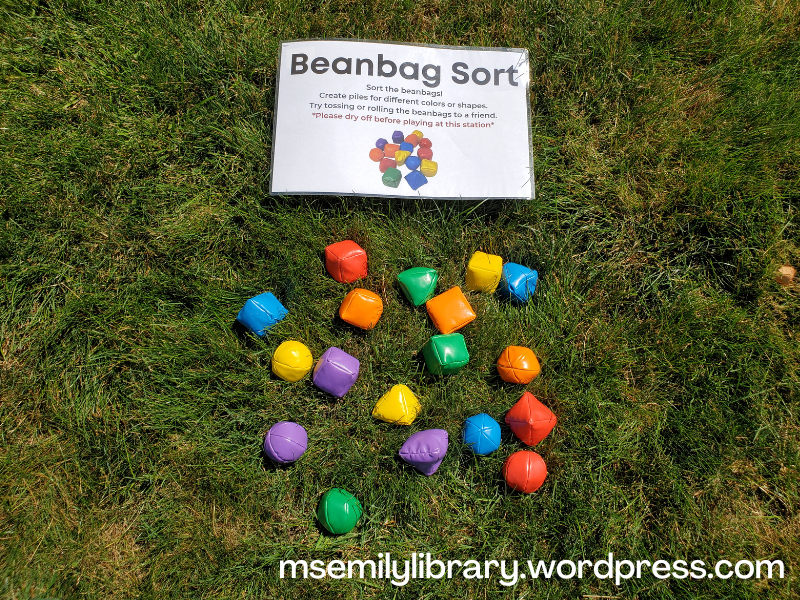
We had these beanbags from Lakeshore Learning that are different colors and shapes. They’re a super easy station where kids can play and sort with them in several ways.

Craft Stick Sort (Weeks 1, 4, & 7)
Another repeat from last year that was already “done.” I noticed in my storage bin that I had these boxes of dot painters that have small holes already in the top. I colored a ring around each hole a different rainbow color and added colored craft sticks for a fine motor and color identification station.

Pool Noodle Sort (Weeks 2 & 5)
A new station this year, but one I’ll repeat. Using the pool noodle slices (from Pool Noodle Soup), I taped a dowel rod to four small plastic cones in red, green, yellow, and blue. Kids could then thread the colored noodles on to the cones. Original idea from this Pin (no blog).

Feed the Croc (Weeks 2 & 5)
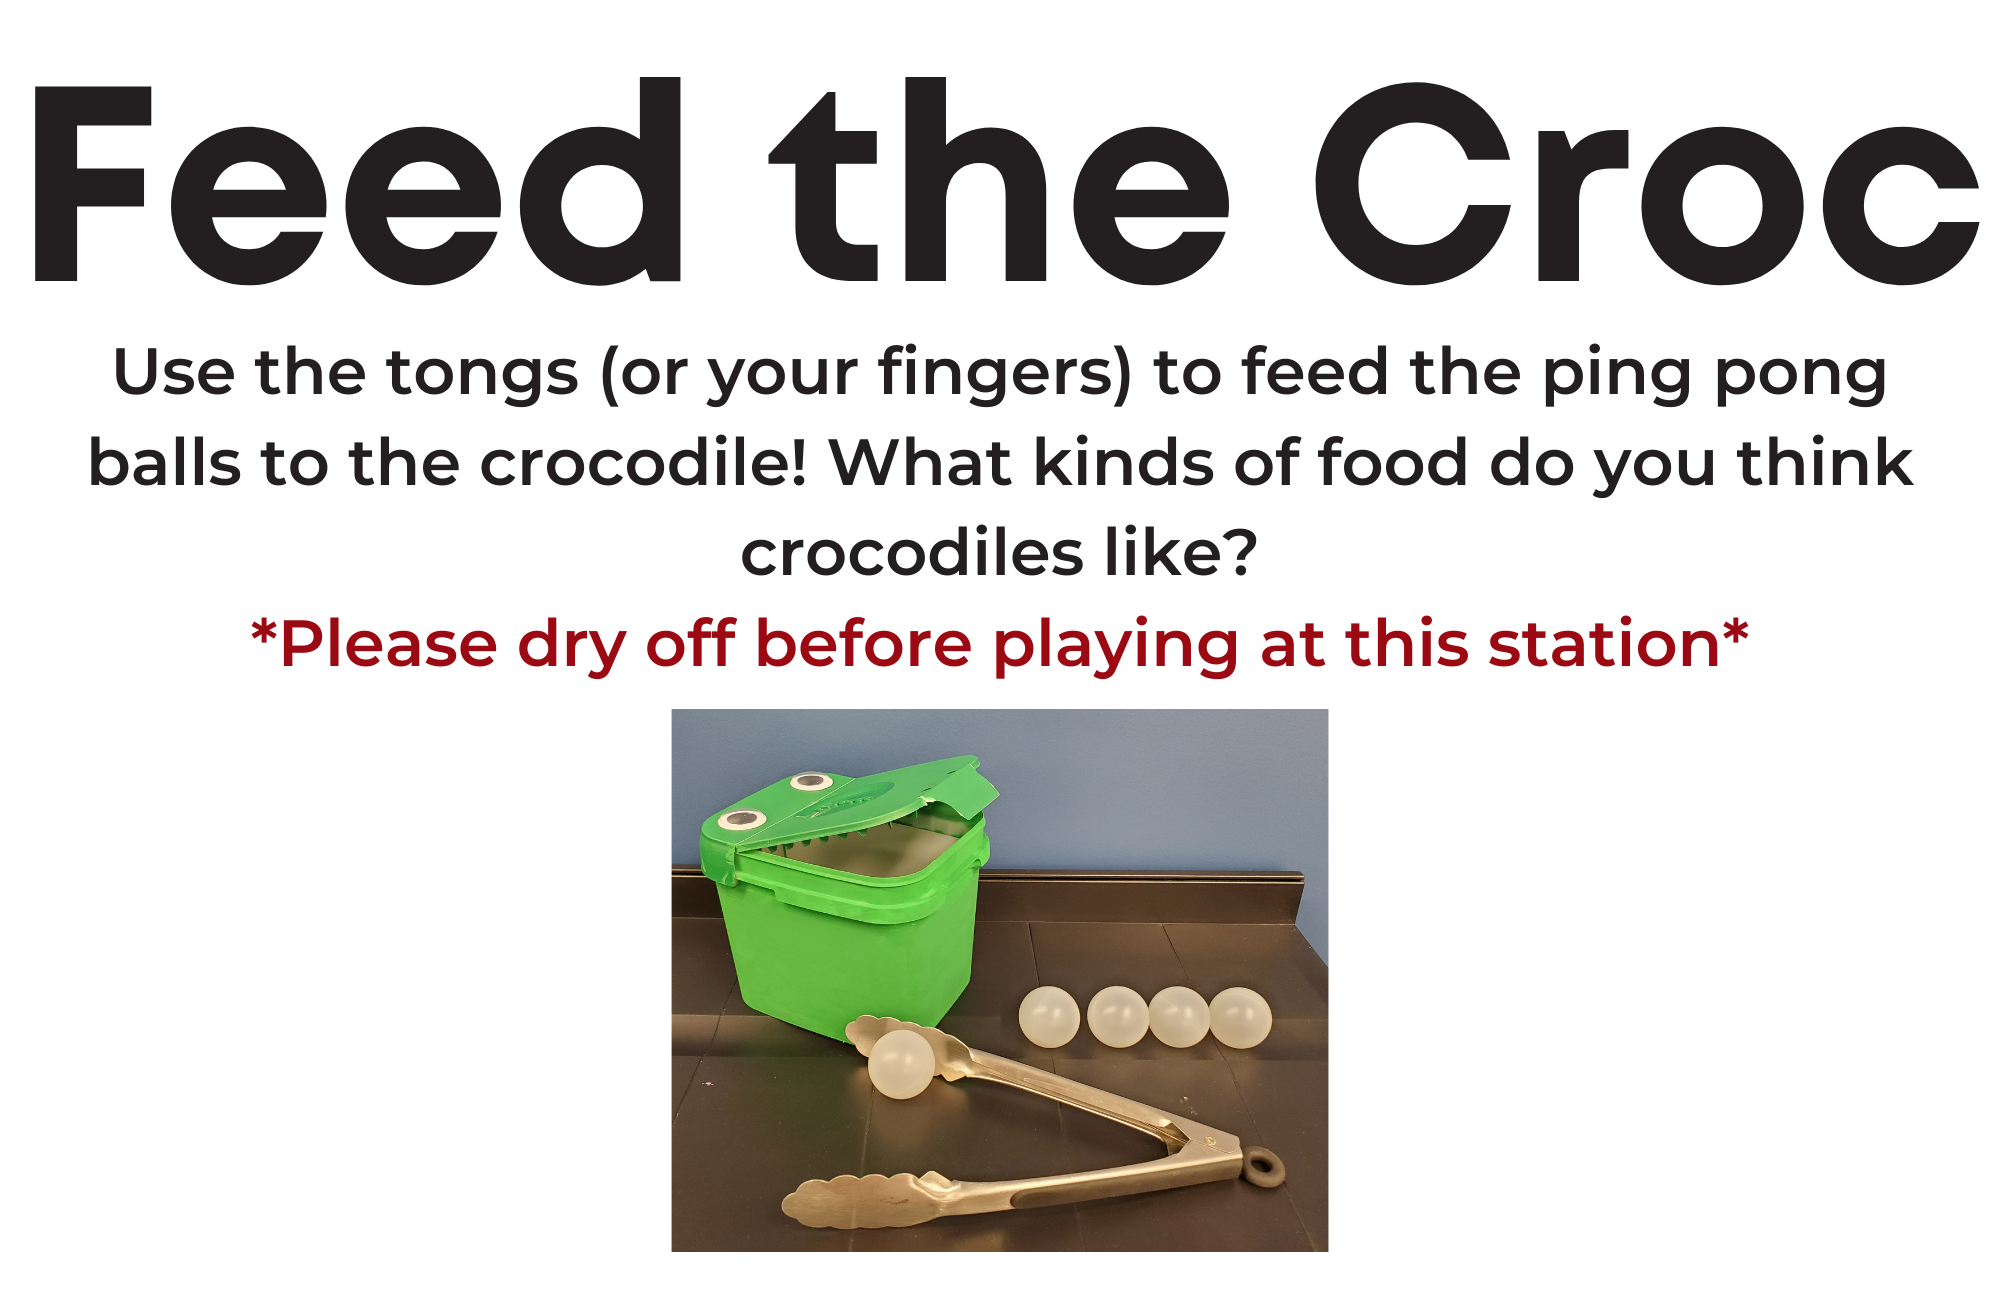
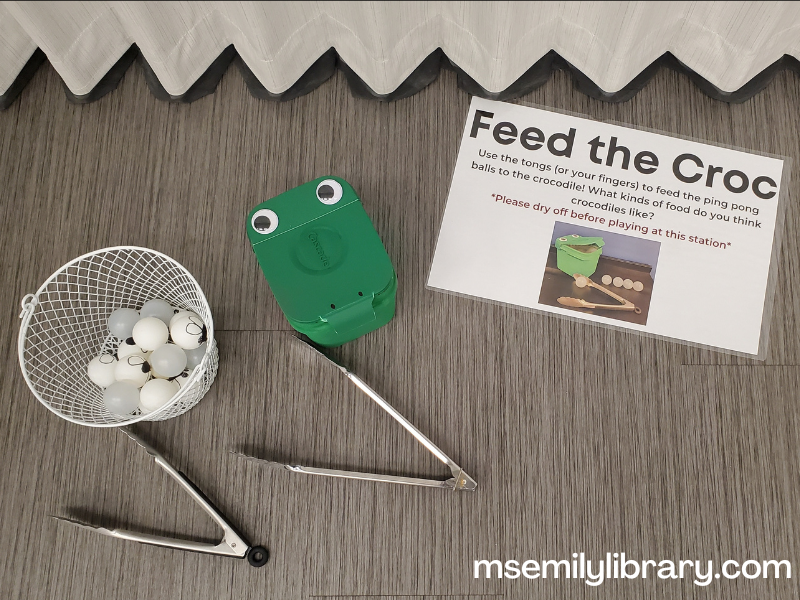
Saw this and thought it was very cute, and actually had the container from last year that someone had given to me. I painted it so that the whole thing is green and the label was covered up, added the big googly eyes and made little nostril markings. I found a few metal tongs at Goodwill and added the ping pong balls. Nom, nom, nom! Original idea from Mama OT.

Colored Ball Sort and Drop (Weeks 3 & 6)
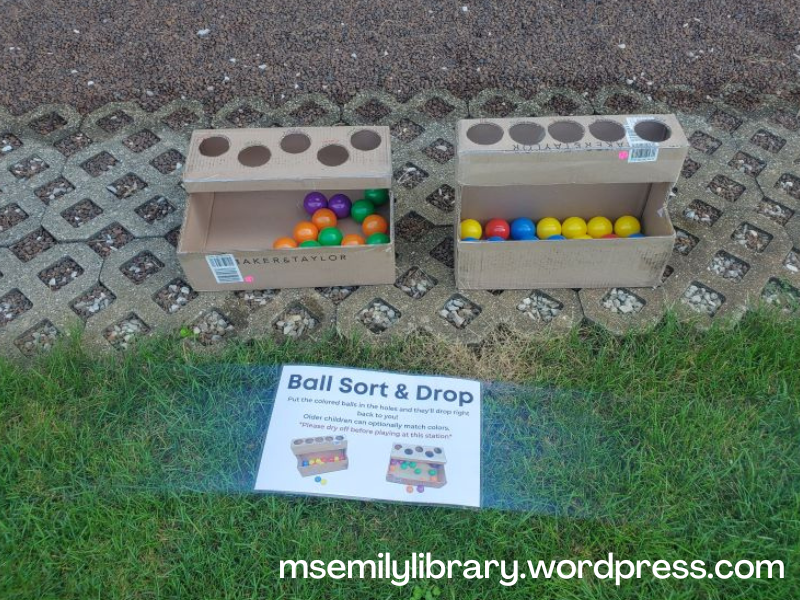
Two more repeats from last year. This ball sort and drop was made with Baker & Taylor boxes, but oriented them different ways so one was tall and skinny and one was low and squat. I had purchased ball pit balls and supplied different colors to each box. Photos from last year, which had weird blurs, sorry. Original idea from Taming Little Monsters.

Pompom Sort (Weeks 3 & 6)
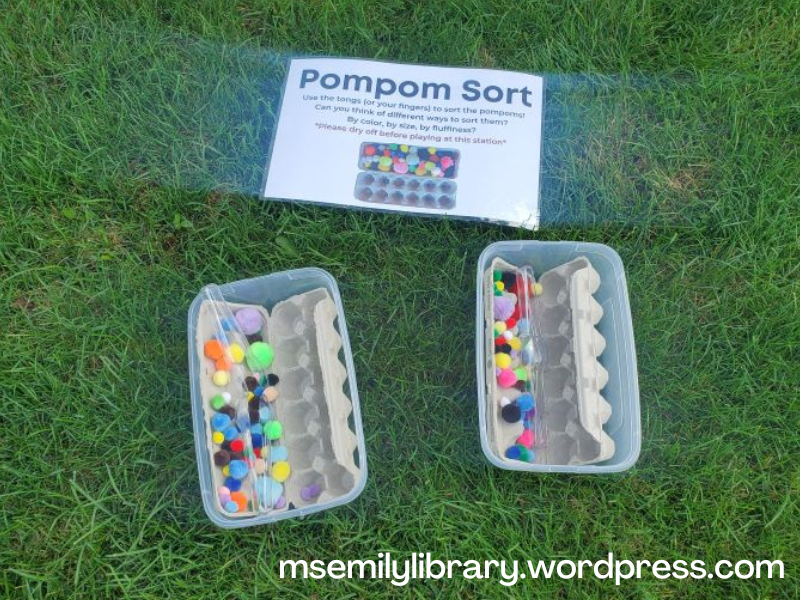
A really easy station to put together: I just saved a couple of egg cartons, then poured a handful or two of different colored/sized pompoms into them. The plastic tongs I provided last year were all broken in use, so I bought some metal ice tongs for this year. (And again, weird blur). Original idea from Laughing Kids Learn.

Art Stations

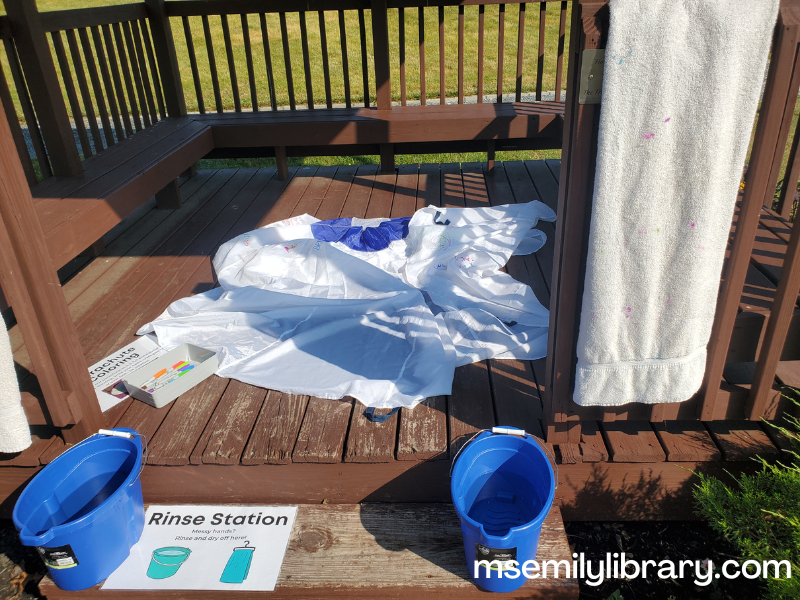
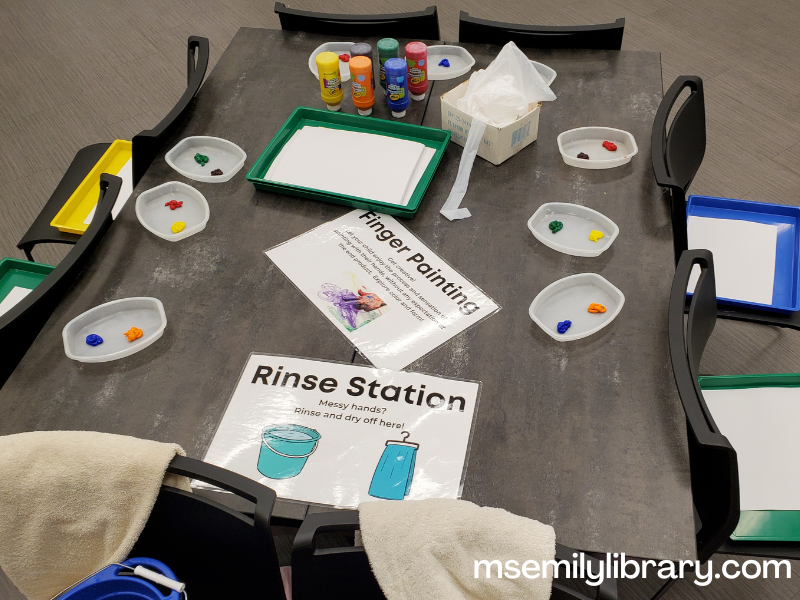
With the exception of Coloring the Parachute, the art stations were all unique, and all were simple process-focused art with different media. To help with mess, I set up a “Rinse Station” near the art every week which consisted of two buckets of water and two old bath towels for washing up as needed.

Rinse Station sign:
"Messy hands? Rinse and dry off here!"

Color the Parachute (all weeks)
My library has an interesting smaller parachute (maybe 8 foot diameter?) that is plain white and was advertised as “decorate it yourself!” When I inherited it, there were a small scattering of names from who knows how long ago and the rest was depressingly empty. This summer I was determined to fill it up. I laid it out each week and set it as a station inside the gazebo, with a small handful of permanent markers. I’m happy to say that it looks MUCH better now, though it could still use a lot more personalization to fill up empty spaces. I offered some different ideas as the weeks went on as to what to add, like a favorite animal or insect. The first time we were indoors I offered it as a station, but cleaning up realized there was permanent marker on our relatively new flooring. To keep my director from going nuts, I decided not to put it out indoors anymore. 🙂 You can see the rinse station in the photo as well.

Shape Prints (Week 1)
Using shape sorter blocks that we already had in our baby toy collection, kids could dip them in paint and stamp the shapes onto white construction paper. I use old recycled Lean Cuisine trays to hold the paint – they are a perfect size. Sadly, I missed getting any pictures of this station! Original idea (and photo on the sign) from Nanny Gunna.

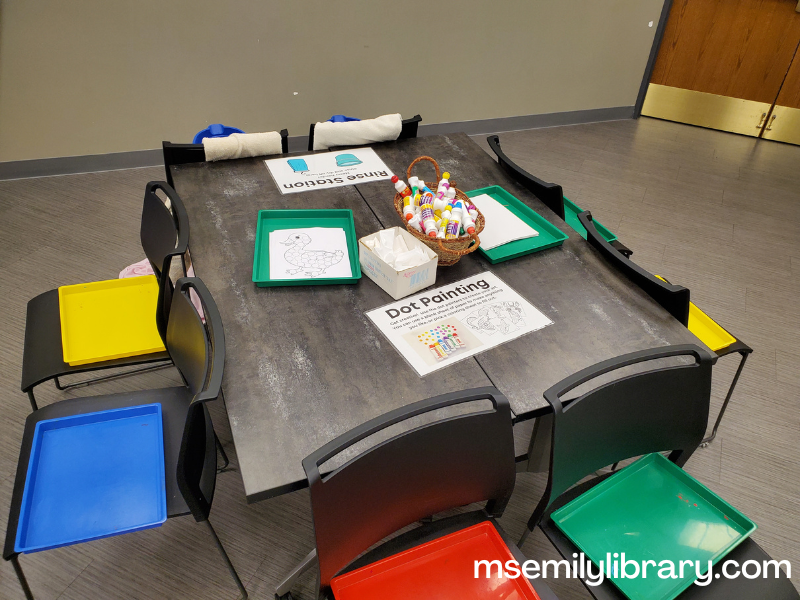
Dot Painting (Week 2)
I originally had a different craft planned for week 2, but it was rainy that week and we were indoors the first two days. Dot painting is very easy and not as messy as slapping paint with flyswatters (see week 6 below), so the switch was made. The library has a supply of dot paint markers and I printed out some animal dot coloring sheets. Simple and still fun. I get a lot of these sheets, including the ones pictured, from The Artisan Life.

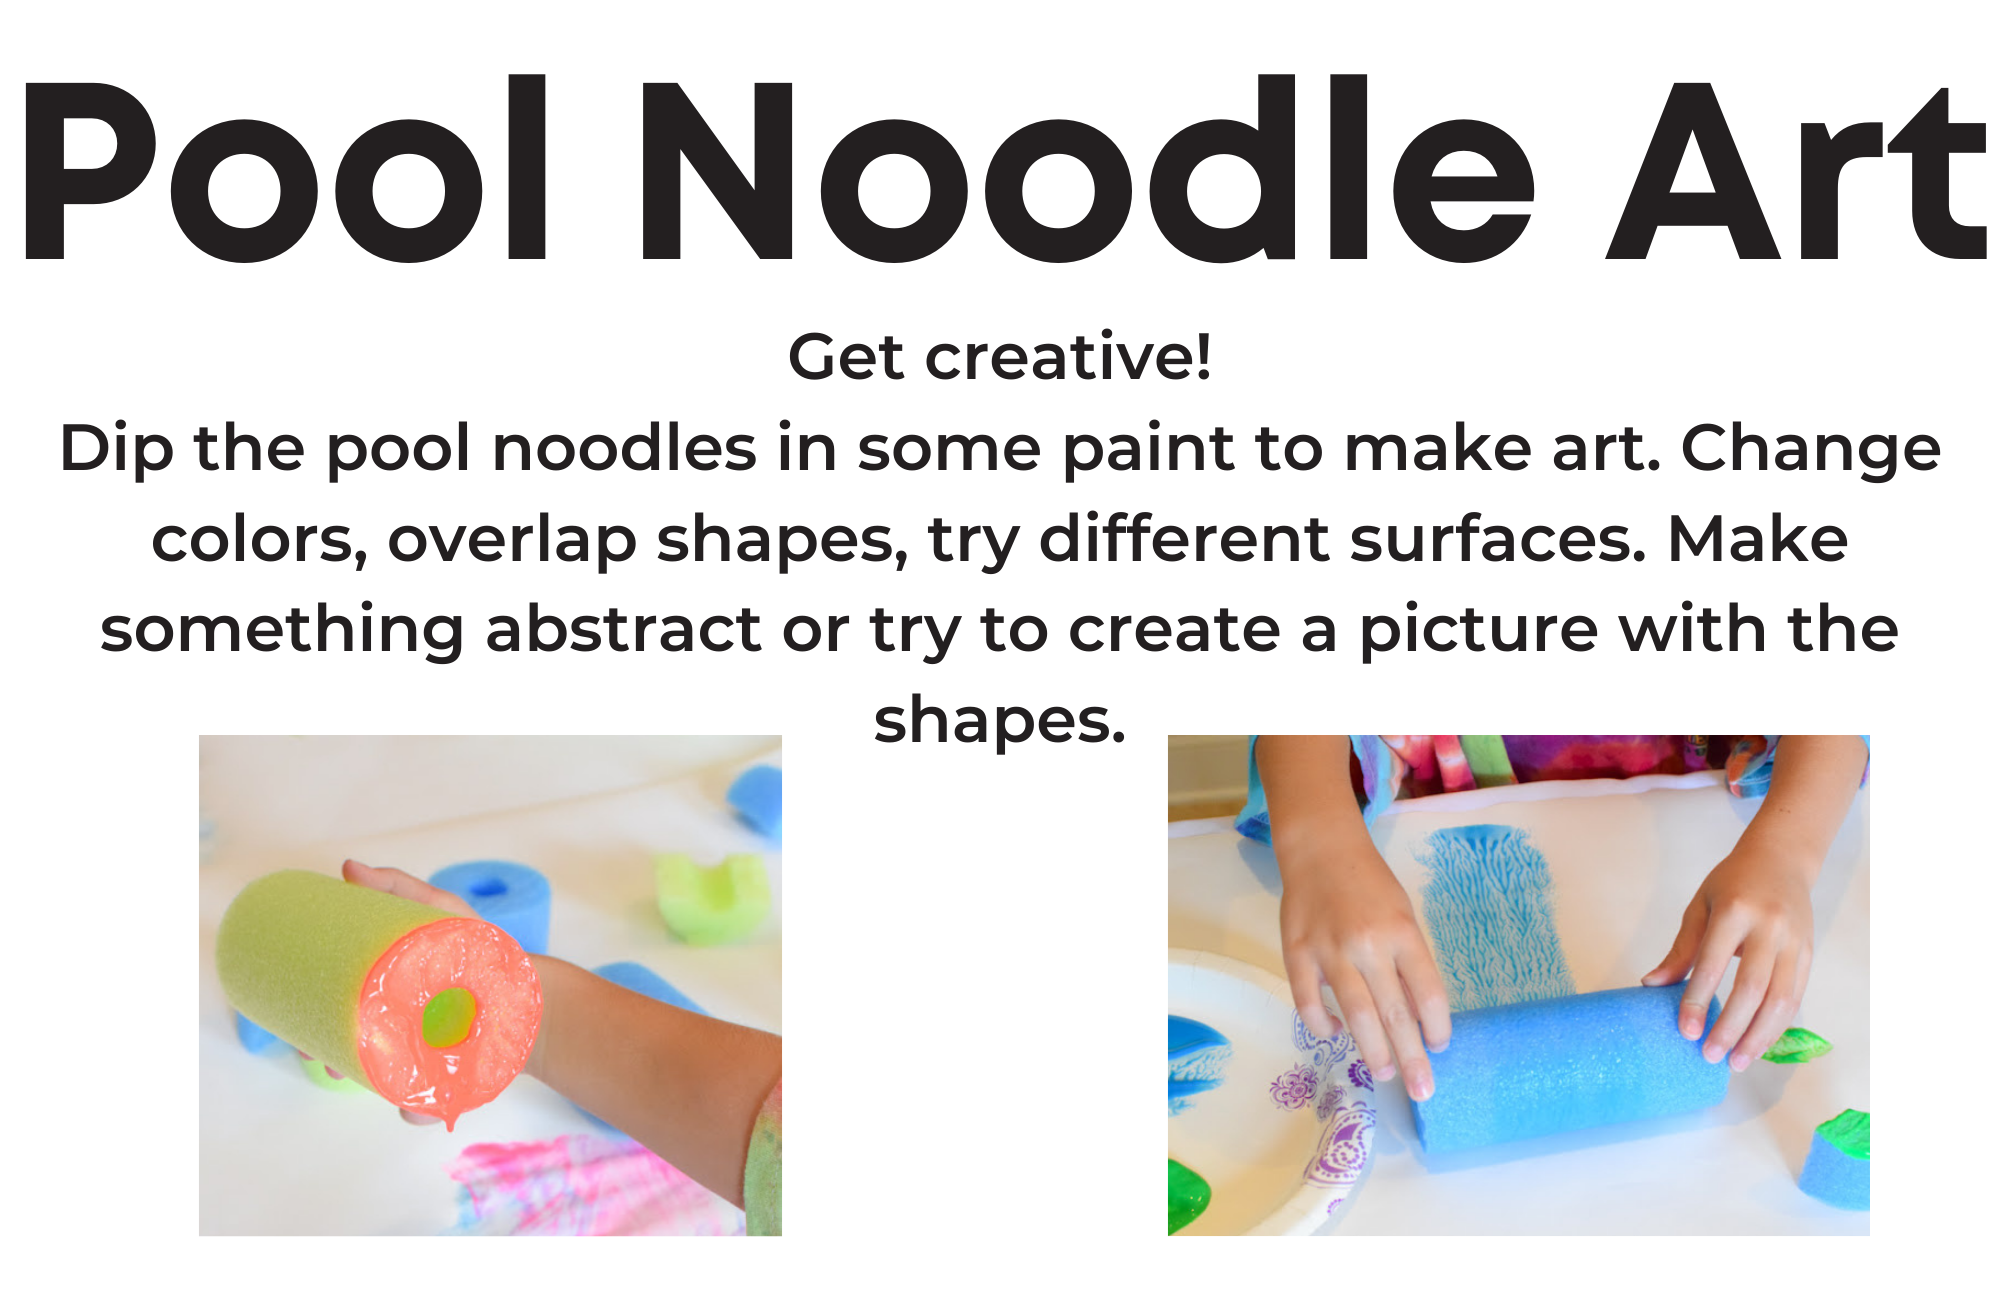
Pool Noodle Art (Week 3)
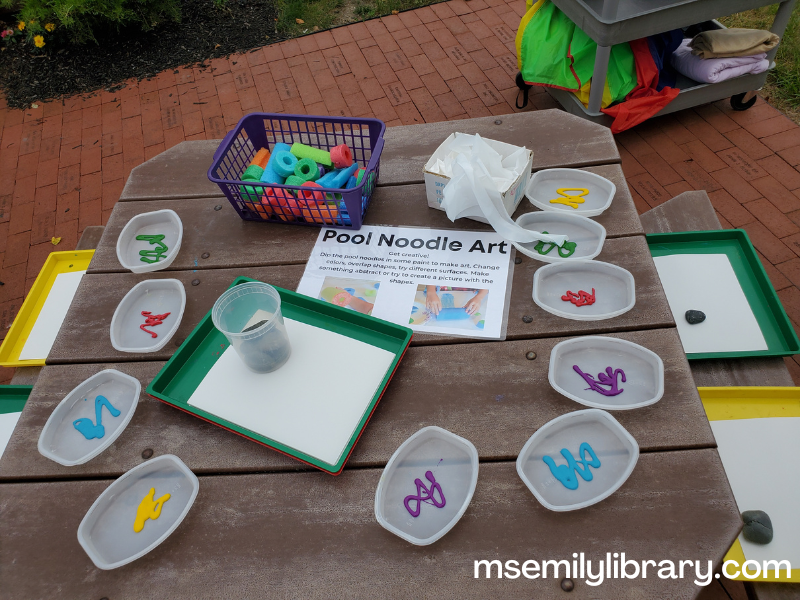
The pool noodles make another appearance! Trays of tempera paint and white construction paper are available with the noodles for any kind of art a child wishes to make. I had a few extra pieces of noodles that had been split lengthwise as well as sliced, to make half-circle shapes in addition to the full circles. Original idea (and photo on the sign) from What Can We Do With Paper and Glue.

Ice Painting (Week 4)
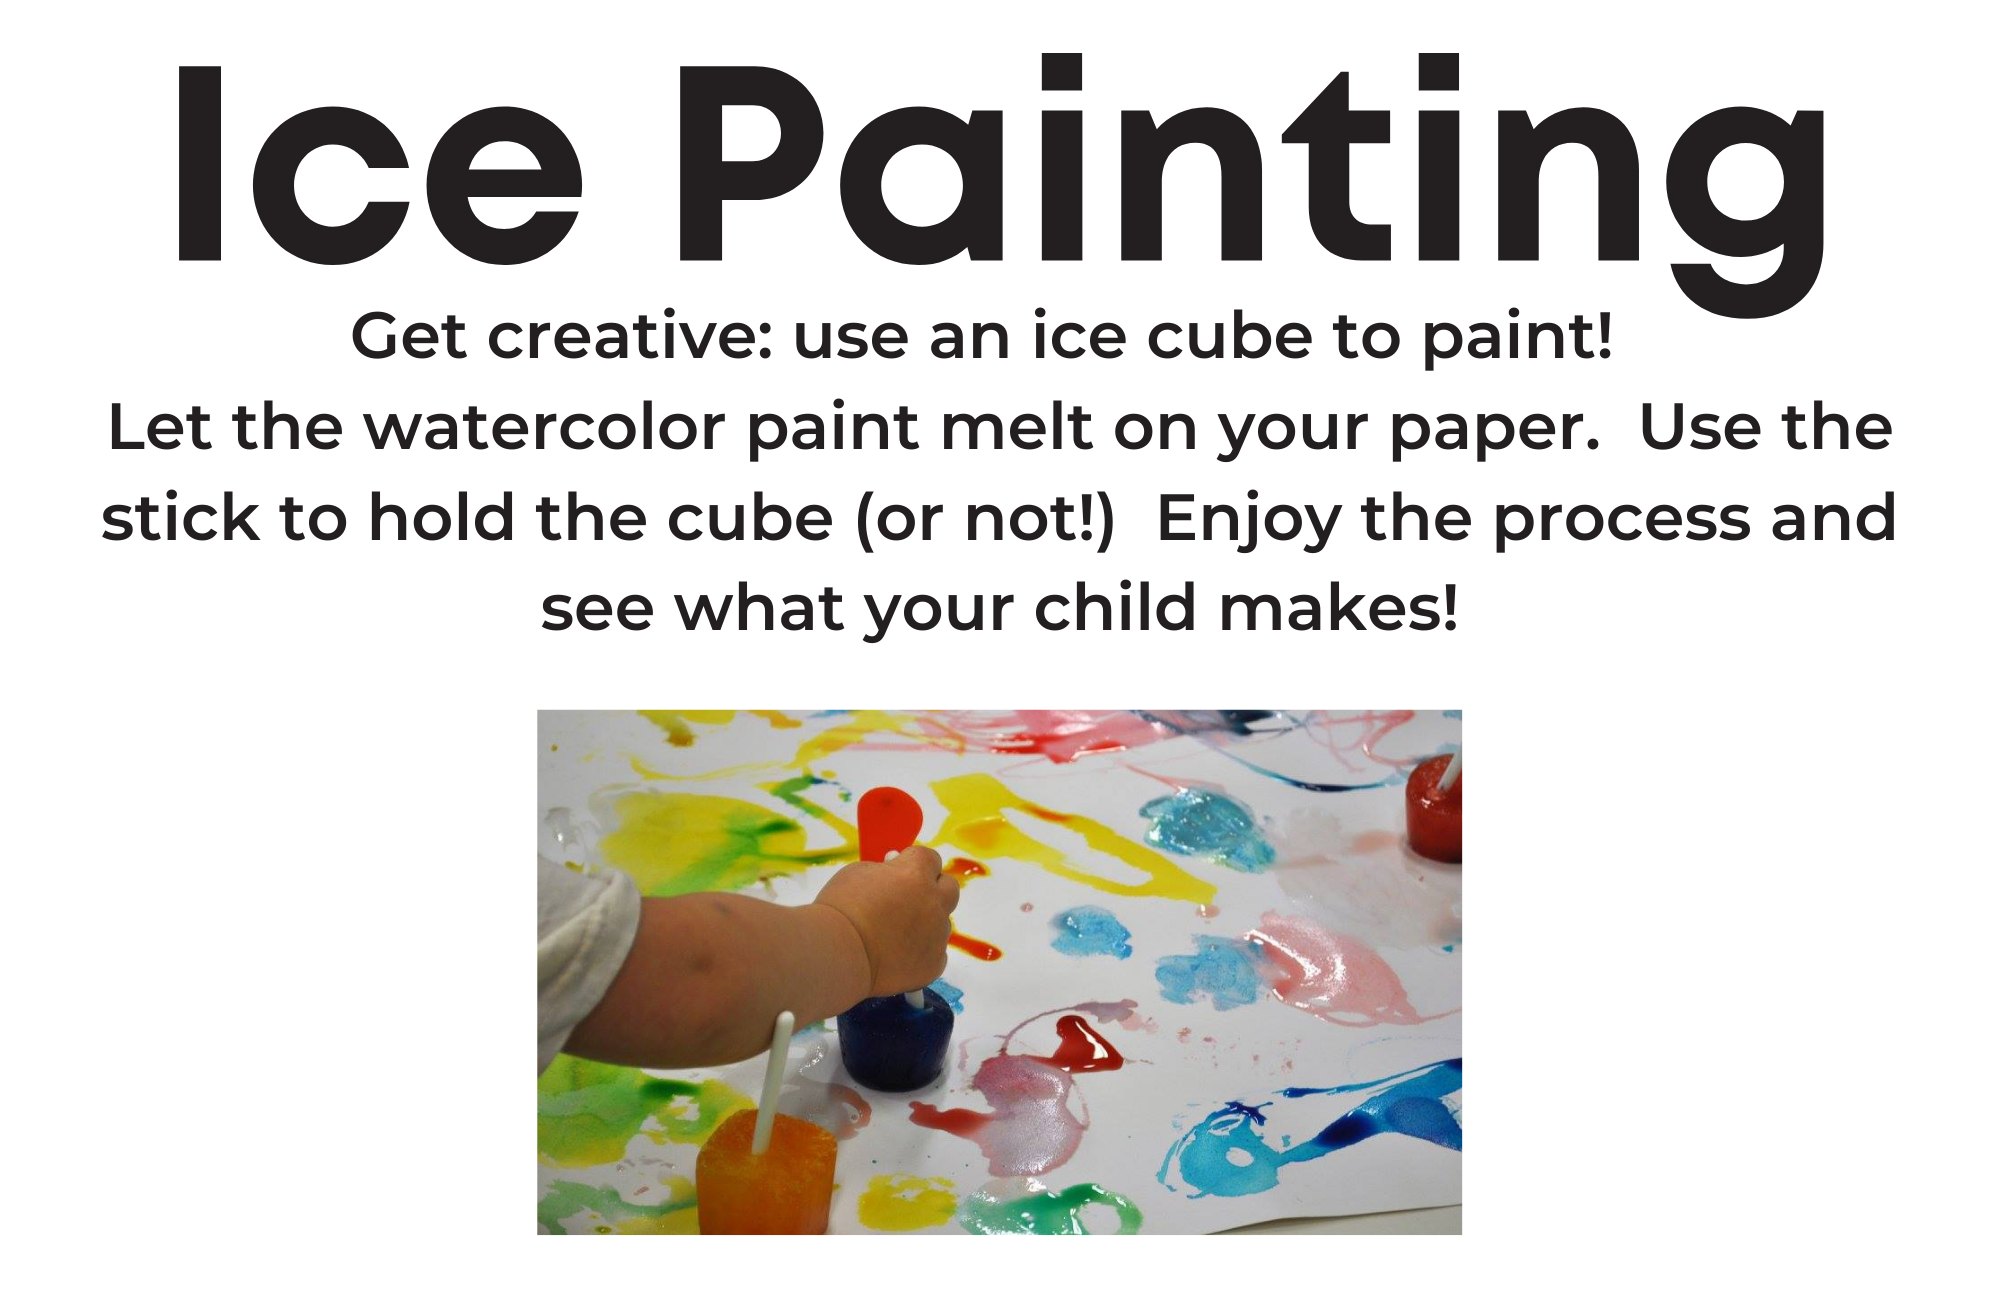
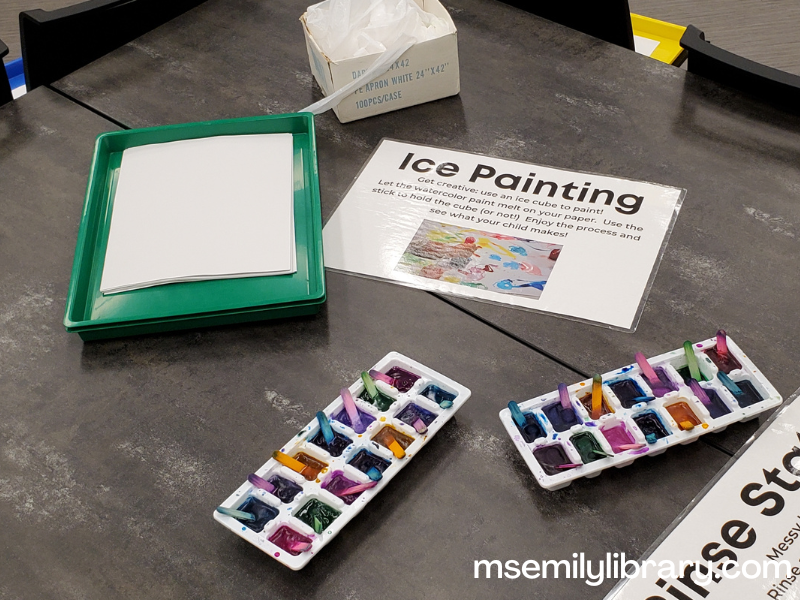
This is honestly very simple, but I always get a lot of comments from grown-ups about how cool it is and how they might be able to do it at home. (I LOVE hearing that they’ll adapt what we do at the library at home!) I add small craft sticks to an ice cube tray and put in a little liquid watercolor paint and fill the rest with water. I think it could easily be done with food coloring if you don’t have liquid watercolors, though. I keep the ice cube trays in a cooler in the shade until we’re ready for stations, then get them out to use. They do melt, but usually there’s a bit of ice left by the end of the program. And my groups were quite tidy, so I was able to just refreeze the trays each day and there was plenty of “paint” available for three sessions. Original idea (and photo on the sign) from ARTventurers.

Finger Painting (Week 5)
A classic and super-simple activity – construction paper in our messy trays with finger paints in trays. I actually had several kids who didn’t like the sensory messiness of it, so some of them creatively used the rocks that are there to keep papers from flying away to spread the paint around. I’m not sure of the source of the photo on the sign, I think it’s a stock photo from Canva.

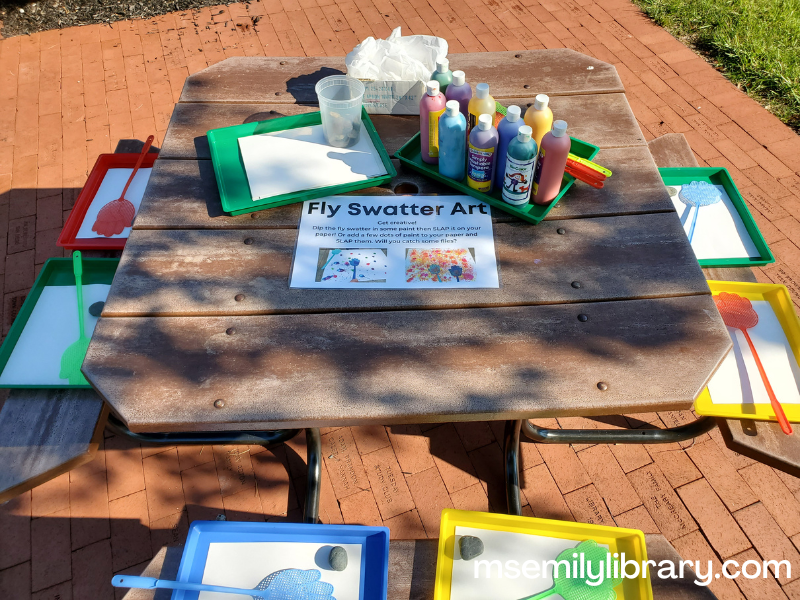
Fly Swatter Art (Week 6)
A messy but very fun art project, using (re-using) supplies from other stations. Kids wielded fly swatters to slap at paint, making some very interesting abstract art. I think the best method turned out to be adding some dots of paint to the paper, then letting the kids aim for them, rather than trying to spread paint on the swatter. I’m grateful for good weather all that week, since this is very much an outdoor activity. Original idea (and photo on the sign) from Play Teach Repeat.

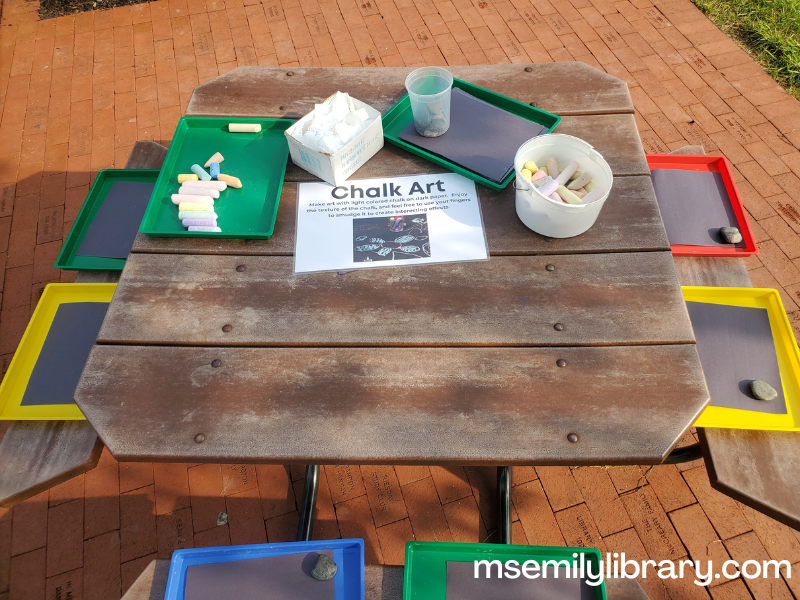
Chalk Art (Week 7)
Another very simple process art project, using black construction paper and sidewalk chalk. It was nice to end the summer with an art station that didn’t involve paint – this librarian was very tired by that point!

Wow, thanks for making it to the end of this very long post. I hope you found some good ideas and jumping-off points for out-of-the-box programming!

Family Storytime: International Dot Day

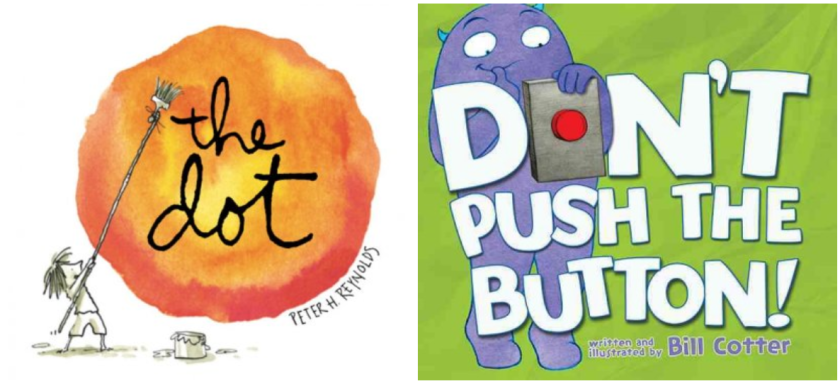
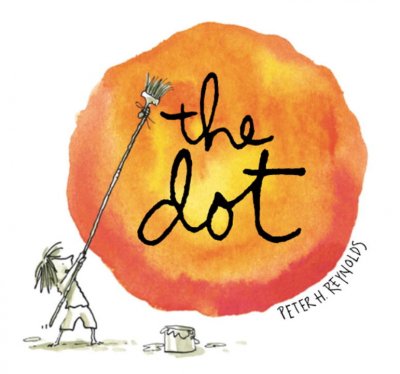
Friends, I love the book The Dot by Peter H. Reynolds, about Vashti, a young girl who doesn’t think she’s an artist. I also love how dots and spots and buttons and polka dots are so common for early literacy activities! I decided to do a Dot Day storytime to go along with the International Dot Day celebrated “on or around September 15-ish,” according to the official website.

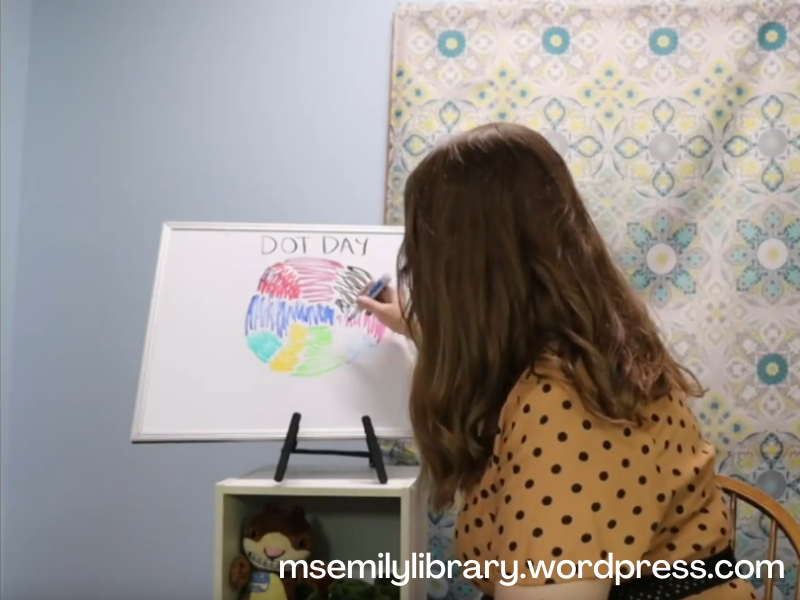
Since The Dot is a fairly small book, I decided to retell it using props outdoors, and as a draw & tell story in my virtual storytime. It was fun to try to “recreate” the story with graphics in Canva, and then to try to draw it. It stretched my creative muscles! The drawing (and erasing) took way longer than anyone’s got attention for, so I used some editing to speed it up in the video version. Although the parents in my outdoor storytime seemed to enjoy the story, I completely lost the little ones, who skewed a bit younger at this particular session. Upon more reflection, this book really is best for kindergarten and older kids, who may have had the experience of being frustrated by their art. The younger ones probably don’t need this message yet!

In any event, I think that all of my other activities and books WERE age-appropriate, so this still turned out to be a fun storytime! Next time, it’ll just be themed to polka-dots and we’ll save The Dot for some school outreach.

You can see the virtual program that does not include the full books read aloud here.

Early Literacy Tip: Art engages children’s senses in open-ended play and develops cognitive, social, emotional, and sensory-motor skills. Allow your child to create sometimes without having an expectation that the result should look a certain way – focus on the process, not the product. Product-based crafts are good for learning to follow directions, but process-based crafts allow for self-expression and joy in the making. Both are beneficial to your child!

Welcome Song: We Clap and Sing Hello

Welcome Song: Hello, Friends
(tune of Goodnight, Ladies)
Hello, friends! Hello, friends!
Hello, friends, it’s time to say hello!
Hello, [name 1], hello, [name 2]!
Hello, [name 3], it’s time to say hello!
(ASL motions: salute for “hello,” then take the index fingers on each hand and you link them together as though they are hugging each other back and forth for “friends”)
Source: Glenside Public Library District

Warm-Up Rhyme: We Wiggle and Stop
(Use the ASL sign for the word “stop” – one hand “chops” across the opposite hand)
We wiggle and we wiggle and we STOP
We wiggle and we wiggle and we wiggle and we wiggle
And we wiggle and we wiggle and we STOP
(Try other motions such as jump, twirl, stretch)
Source: Jbrary

Intro: What is a dot? A spot, a circle, a polka-dot! We’re going to read a book that some people liked so much and were so inspired by, that they made an International Dot Day holiday to celebrate it!

Retell: The Dot by Peter Reynolds

Download my visual aids here! (I started with a blank sheet and used a sharpie to make a dot and sign it “Vashti.” I also wrote out the text of the book and pasted it to the back of each sheet, not included in the download. For the gallery page, I made a color copy of that sheet from the book and enlarged it about 200% onto 11×17 paper, also not included in the download.)

I wrote this one, but it is very specific to the book. If you’re not reading it, it may not make sense.
Song: Making Artwork
(tune of Frère Jacques)
Painting, painting (painting, painting)
Dot, dot, dot (dot, dot, dot)
Now we sign our names there
(now we sign our names there)
Look at my art! (look at my art!)!
Credit: Ms. Emily

Because I was doing this outside, I made it as large as I could on cardstock, and added magnets to the back and the dots so I could stick it on my bookcart. I liked that we counted up to six instead of the usual five, too.
Flannel Song: Pretty Ladybug
(tune of Do You Know the Muffin Man)
Ladybug has 1 black spot
1 black spot, 1 black spot
Ladybug has 1 black spot
Pretty ladybug!
(count up)
Source: Jen in the Library

Download the Pretty Ladybug template!

Tickle Song: Spots, Spots, Spots
(tune of the baseball organ build up)
Spots, spots, spots, spots,
Spots, spots, spots, spots
A leopard has lots of spots
What a lot of spots he got!
A tiger’s stripes are always nice…
But a leopard has lots of
Spots, spots, spots, spots,
Spots, spots, spots, spots… (tickle!)
Source: Jbrary

Everyone liked this one!
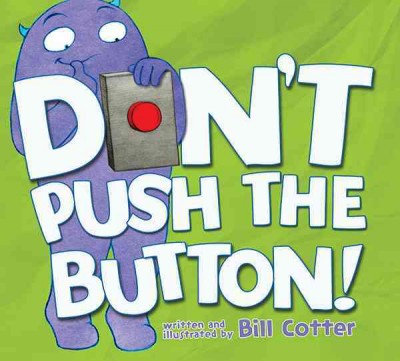
Read: Don’t Push The Button by Bill Cotter

When I did this one as a kid, we said “I have a wife and three kids and I work at the button factory.” That seemed so outdated! The parents really got into this one, which was super-fun to see!
Action Chant: The Button Factory
Hi, my name is Jo(e)!
I have a dog and a cat
And I work at the button factory
One day, my boss came to me,
She said, “Jo(e), are you busy?”
I said “No”
She said,“Push this button
with your right hand”

Continue to push the button, repeat and add left hand, right foot, left foot, nose, hip, etc.
On last verse:
She said, “Jo(e), are you busy?” “YES!”
Source: traditional

Breathing Break: Five Finger Breathing
Our breathwork visualization. We inhale while tracing up a finger, pause at the top, then exhale while tracing down, and pause at the bottom. Repeat for all five fingers. At the end, I let them know this is a great way to get calm, get centered or focused, and get ready for the next thing. I also remind them they can take a ten finger break if they need to, and it’s always available for them whenever they need it.

One more repeated activity. This has always been a favorite song!
Action Song: Zoom, Zoom, Zoom!
Zoom, zoom, zoom, we’re going to the moon!
(hands scrape past each other rhythmically)
Zoom, zoom, zoom, we’re going to the moon!
If you want to take a trip (fingers walk up arm)
Climb aboard my rocket ship!
Zoom, zoom, zoom, we’re going to the moon!
In 5, 4, 3, 2, 1, BLASTOFF! (crouch, then jump!)
Source: Jbrary

Ukulele Song: Ladybugs’ Picnic
1, 2, 3, 4, 5, 6, 7 ,8 ,9, 10, 11, 12
Ladybugs came to the ladybugs’ picnic

They had twelve sacks so they ran sack races
And they fell on their backs and they fell on their faces
The ladybugs 12 At the ladybugs’ picnic

They played jump rope but the rope it broke
So they just sat around telling knock-knock jokes
The ladybugs 12 At the ladybugs’ picnic

1, 2, 3, 4, 5, 6, 7 ,8 ,9, 10, 11, 12
And they chatted away At the ladybugs’ picnic

They talked about the high price of furniture and rugs
And fire insurance for ladybugs
The ladybugs 12 At the ladybugs’ picnic. 12!
Credit: Sesame Street

Get a downloadable ukulele songsheet for “Ladybugs’ Picnic” here!

Thumbnail of ukulele songsheet

Craft: Pom Pom Painting
When giving my early lit tip, I emphasized the benefits of process art projects. For this one, I supplied a blank sheet of paper, two pom poms, two colors of paint, and two clothespins (to hold the pom poms), and encouraged them to paint whatever they wanted! I also printed some of the Dot Day coloring sheets for the take-home packets.

I also booktalked these alternative titles during the permanent YouTube video.
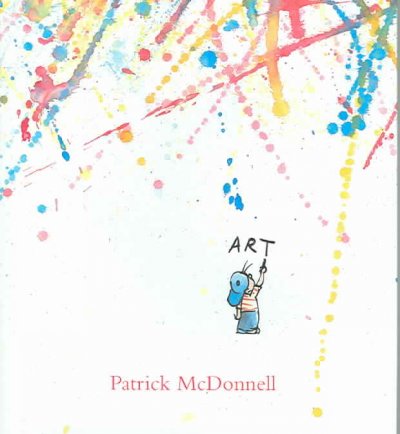
Art
by Patrick McDonnell
The Book of Mistakes
by Corinna Luyken
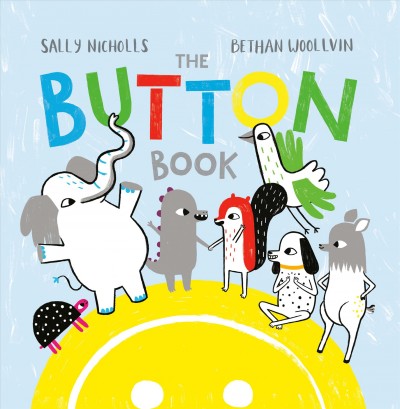
The Button Book
by Sally Nicholls & Bethan Woollvin
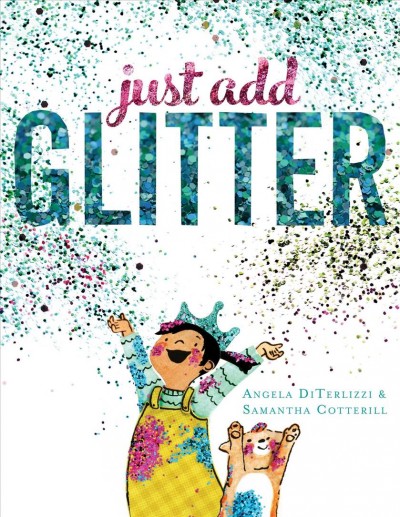
Just Add Glitter
by Angela DiTerlizzi & Samantha Cotterill

Goodbye Song: See You Later, Alligator
(tune of Clementine)
See you later, alligator (wave with one hand, then the other)
In a while, crocodile (open and shut arms like a croc’s mouth)
Give a hug, ladybug (hug yourself or a loved one)
Blow a kiss, jellyfish! MWAH! (move hand like a jellyfish then blow a kiss!)
Source: King County Library System

Closing Rhyme: Tickle the Stars

This storytime was presented in-person and virtually on 9/14/21.

Storytime Handout: